

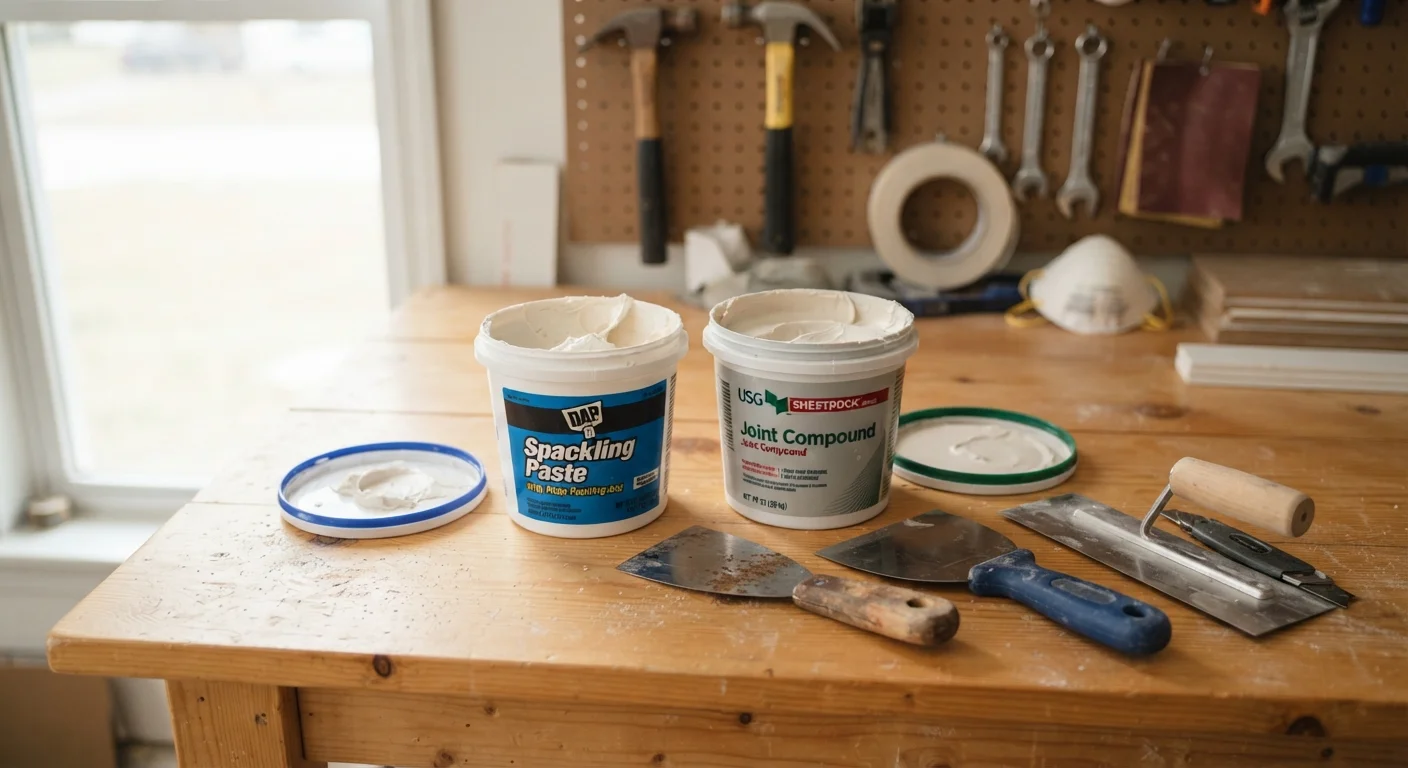
Option A
Joint Compound
The heavy-duty workhorse for drywall installation and large repairs.
Best for: Best for taping seams, covering drywall fasteners, and repairing holes larger than a quarter.
Option B
Spackling Paste
The quick, convenient fix for small everyday wall blemishes.
Best for: Best for filling nail holes, small dents, and minor surface imperfections in finished walls.
What Each Product Is Actually Made Of
Despite appearing similar in the bucket, joint compound and spackling paste have meaningfully different formulations that drive all of their performance differences.
Joint compound - sometimes called drywall mud - is primarily gypsum-based, blended with binders, preservatives, and water. It's designed to bond with drywall paper and tape, making it the standard material for finishing new drywall and repairing larger damage. It comes in pre-mixed and powdered forms; for a closer look at those differences, see pre-mixed vs powdered joint compound.
Spackling paste is typically made with vinyl or acrylic compounds, giving it greater flexibility and faster curing. That vinyl or acrylic base is why spackling shrinks less than joint compound and generally doesn't require a second coat on small repairs. It's engineered for convenience, not heavy-duty builds.
How They Behave During and After Application
The application experience tells you a lot about why these materials suit different jobs.
Joint compound spreads generously and stays workable long enough to feather - meaning you can blend the edges smoothly into the surrounding wall. That open working time is an advantage on large areas but means a longer wait before sanding. Expect joint compound to shrink noticeably as it dries, which is why most drywall repairs require two or three coats. Feathering technique is especially important with joint compound because each coat needs to extend slightly wider than the last to hide shrinkage lines.
Spackling paste is thicker and tackier out of the container. It's harder to spread over large areas evenly, but on small repairs that's irrelevant - you're just pressing it into a nail hole with a fingertip or a small putty knife and wiping it flush. Because it shrinks so little, one application is usually sufficient for anything shallow.
| Criterion | Joint Compound | Spackling Paste |
|---|---|---|
| Primary base material | Gypsum-based | Vinyl or acrylic-based |
| Best repair size | Large holes, seams, wide areas | Nail holes, small dents |
| Shrinkage | Significant; multiple coats needed | Minimal; usually one coat |
| Dry time | 12-24 hours per coat | 1-2 hours for small repairs |
| Feathering ability | Excellent; blends over wide areas | Poor on large areas |
| Works with tape | Yes - essential for seam work | No |
| Texture replication | Yes; can be tooled and thinned | Not well-suited |
| Shelf life (opened) | Weeks to months if sealed | Months to a year if sealed |
Common Mistakes That Lead to Visible Patches
Most patch failures come down to using the wrong product, skipping coats, or painting before the material is fully dry.
- Using spackling on a large hole: Spackling may crack or pull away from the edges of a hole bigger than roughly half an inch because it lacks the structural body that joint compound provides when backed by mesh or paper tape.
- Using joint compound on a nail hole: It's not a disaster, but joint compound will shrink back below the surface as it dries, requiring a second application - time you could have saved with spackling.
- Painting over damp filler: Both products need to be completely dry and change to a uniform white or off-white color before you prime. Painting over damp filler traps moisture and causes bubbling or flaking. For more on what can go wrong, see common drywall repair mistakes.
- Skipping primer: Both joint compound and spackling are porous. Without a primer coat, your topcoat paint will absorb unevenly and the patch will show as a dull spot - called flashing - even if the surface is perfectly flat.
Texture Matching and Finishing
Getting the repair flat is only half the job. If your walls have any texture - even a subtle orange peel - the filled area will stand out as a smooth spot once painted. Joint compound is almost always the better choice for recreating wall texture because it can be thinned, stippled, or manipulated with brushes and rollers before it sets. Spackling dries too quickly and is too stiff to tool into a matching pattern reliably.
Once your repair is sanded smooth and primed, matching the existing wall texture is worth learning before you reach for the paint - it's the step that separates a repair no one notices from one that catches light at the wrong angle.
Note: Large structural repairs, repairs involving load-bearing walls, or work that requires cutting into plumbing or electrical should be evaluated by a licensed professional. Always check local building codes for any repair that may require a permit.
The content on this site is for informational purposes only and is not a substitute for professional advice. Always consult a qualified professional for guidance specific to your situation.