

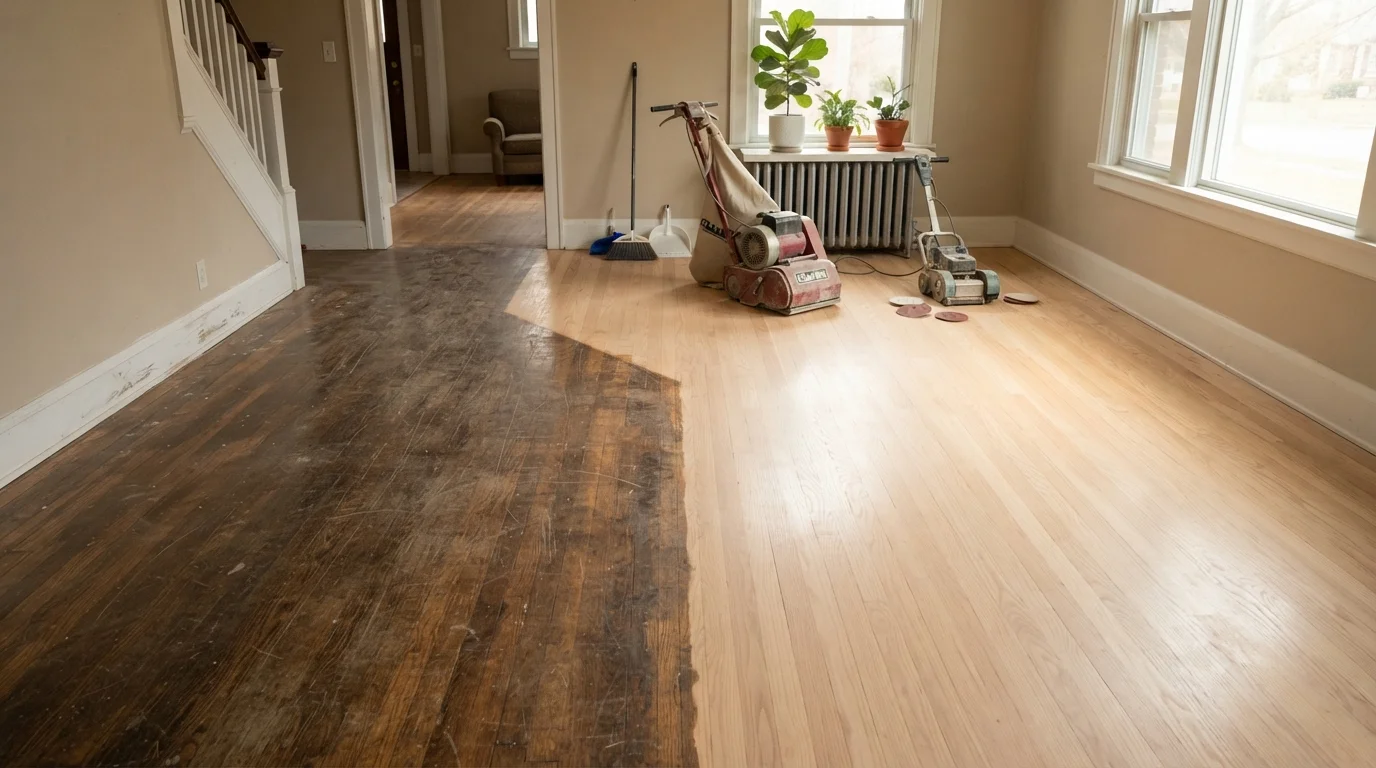
Why Refinishing Hardwood Is Harder Than It Looks
Hardwood refinishing sits at an appealing intersection: the results are dramatic, the materials are relatively affordable, and rental equipment makes the process seem accessible. What the rental counter doesn't tell you is that a drum sander is an aggressive, unforgiving machine, finish chemistry is genuinely complex, and the margin between a beautiful floor and an irreparably gouged one can be a matter of seconds.
This is part of a broader pattern documented in our comprehensive flooring repair guide - underestimating the precision that surface repairs demand. Before picking up a sander, understanding exactly where DIYers go wrong is the most useful preparation you can do.
1/32"
Minimum wear layer needed to safely sand hardwood
Most flooring industry guidelines suggest at least 1/32 inch of wood above the tongue before refinishing is considered safe.
6-9%
Target wood moisture content before finishing
Finish manufacturers commonly specify this moisture range for interior hardwood to ensure proper adhesion and film formation.
3-5 times
Typical lifetime sanding limit for 3/4" solid hardwood
Flooring professionals generally estimate solid 3/4-inch hardwood can be sanded and refinished three to five times over its lifespan.
The Most Consequential Mistakes - and How to Sidestep Them
The mistakes below aren't edge cases. They're consistent patterns that show up across beginner and intermediate DIY refinishing attempts. Each one is avoidable with the right preparation.
Starting with too fine a grit or skipping grits in the sequence.
Why it happens: DIYers assume finer sandpaper is gentler and safer, so they start at 60 or 80 grit when the floor actually needs 36 grit to cut through old finish effectively.
Stopping or tilting the drum sander while the drum is still spinning.
Why it happens: Operators get distracted, lose their grip, or don't realize how quickly a stationary drum cuts into the wood.
Applying a new finish directly over an incompatible existing coating.
Why it happens: Homeowners often don't know what finish is currently on the floor - or assume that any polyurethane will bond to any other polyurethane.
Finishing over wood that still holds excess moisture.
Why it happens: Floors near exterior doors, kitchens, or bathrooms can hold elevated moisture that isn't visible. DIYers skip moisture testing because the floor looks and feels dry.
Rushing between finish coats without waiting for full dry time.
Why it happens: Impatience - and the mistaken belief that 'dry to the touch' means ready for recoating.
Neglecting edge sanding and transitions between the drum sander and edger.
Why it happens: DIYers focus on the main field of the floor and treat edges as an afterthought, using different grits on the edger than on the drum.
It's also worth understanding your floor's construction before you begin. Our article on subfloor versus surface floor differences explains how the layers interact - relevant when you're deciding how aggressively you can sand without compromising structural integrity.
Know Your Floor's Sanding Limit
Solid hardwood floors can only be sanded a finite number of times before the wood becomes too thin to refinish safely. Engineered hardwood has an even thinner veneer layer, and many engineered products cannot be sanded at all. Before renting equipment, measure the thickness of your flooring and confirm it has enough material remaining. If you're unsure, consult a flooring professional before proceeding.
Preparation Steps That Prevent Most Problems
The mistakes above share a common root: skipping or rushing the preparation phase. A thorough prep routine eliminates most of the scenarios where things go wrong mid-project.
- Clear and inspect the room: Remove all furniture and check every board for protruding fasteners. A single nail head can shred sandpaper and scar the floor.
- Test your existing finish: Rub a small amount of denatured alcohol on an inconspicuous area. If the finish softens or dissolves, it's shellac or lacquer - not polyurethane - and requires a different approach.
- Measure moisture: Use a moisture meter in several locations across the room, particularly near exterior walls and water sources.
- Plan your grit progression in writing: Decide your starting grit based on floor condition, then map out every subsequent grit level before you rent equipment.
Many of these preparation habits apply across surface repair types. If you've worked through common drywall misconceptions, you'll recognize the same principle: the work done before you touch the surface determines the quality of what comes after.
Ventilation Is Non-Negotiable
Sanding produces large volumes of fine wood dust that can be a respiratory and fire hazard. Finishing products - particularly oil-based polyurethanes - release flammable vapors. Always wear an appropriate respirator (not just a dust mask), ensure strong cross-ventilation, eliminate ignition sources, and review all product safety data sheets before you begin.
For a reality check on broader floor repair assumptions - including which finishes can actually be recoated and which require full sanding - see our article on floor repair myths that cost homeowners.
This article is for general informational and educational purposes only. Always consult product manufacturer instructions and, where appropriate, a qualified flooring professional before beginning any refinishing project. Local building codes may apply.
The content on this site is for informational purposes only and is not a substitute for professional advice. Always consult a qualified professional for guidance specific to your situation.