

Our Verdict
No single lighting control type wins outright - the right choice depends on how a space is used. Dimmers excel where mood and flexibility matter, occupancy sensors eliminate waste in transitional spaces, and timers handle scheduled outdoor or security lighting reliably. Combining all three strategically across your home offers the most meaningful efficiency gains.
| Best for | Recommended |
|---|---|
| Living rooms, dining rooms, and bedrooms where ambiance matters | Dimmers |
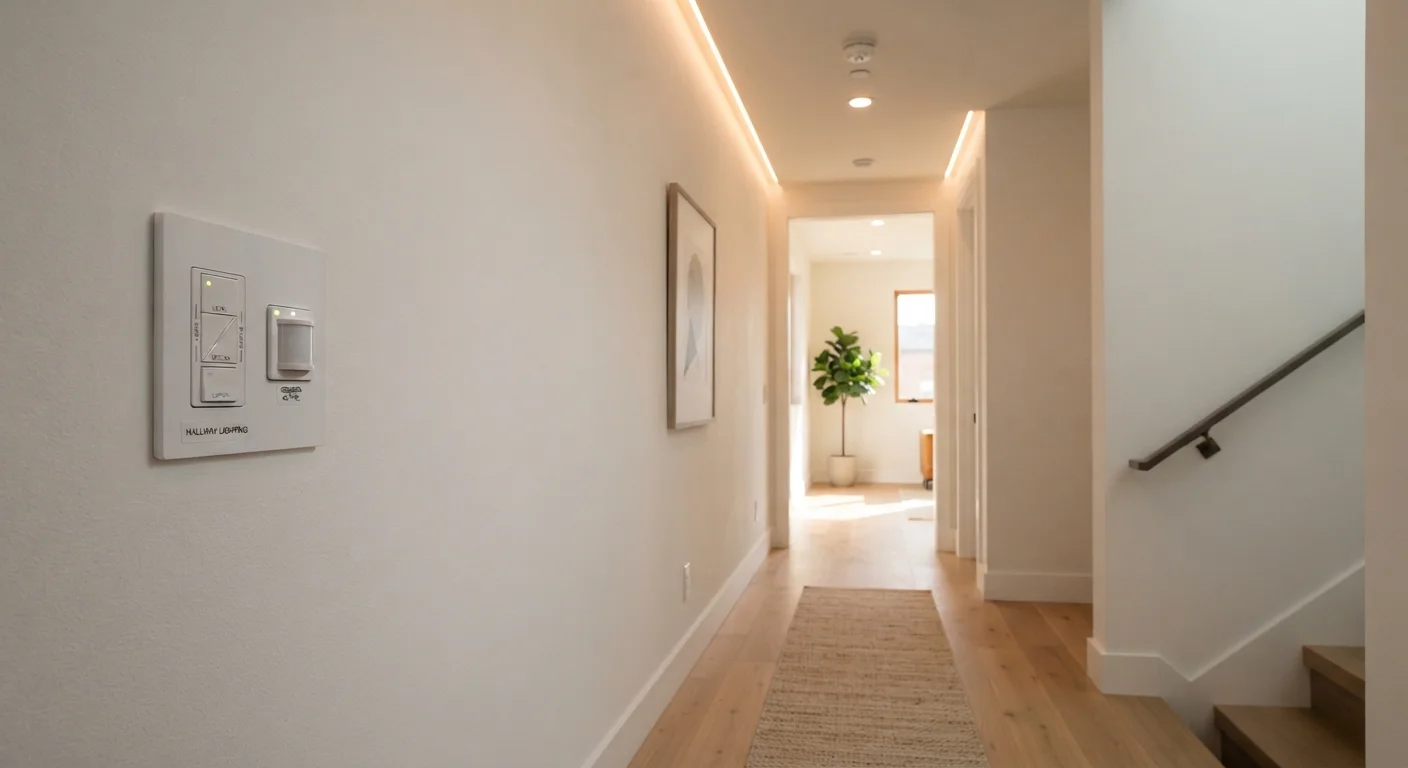
| Hallways, bathrooms, laundry rooms, and garages with irregular use | Occupancy Sensors |
| Outdoor fixtures, porch lights, and security lighting on fixed schedules | Timers |
| Whole-home efficiency with minimal daily effort | All three combined by zone |
Why Lighting Controls Matter Beyond the Light Switch
Standard on/off switches do one job adequately. But lighting accounts for a meaningful share of a home's electricity consumption - and the way lights are used matters as much as the bulbs themselves. Leaving lights on in empty rooms, running outdoor fixtures all night, or always lighting a space at full intensity when lower levels would suffice are all common patterns that quietly inflate energy bills.
Lighting controls - dimmers, occupancy sensors, and timers - each address a different version of this problem. Understanding how they work and where they're best applied helps you prioritize upgrades that actually match your household's habits. For a broader view of how lighting fits into your home's overall energy picture, see how lighting relates to your home's biggest energy systems.
Dimmers: Efficiency Through Adjustability
A dimmer switch reduces the voltage delivered to a light fixture, lowering brightness and - with compatible bulbs - reducing energy consumption proportionally. At 70% brightness, a dimmable LED draws roughly 70% of its rated wattage. That's a real reduction, not a rounding error.
The critical caveat: not all bulbs are dimmer-compatible. Older incandescent and halogen bulbs dim reliably, but many LED bulbs require a dimmable-rated driver and a compatible dimmer. Mismatches cause flickering, buzzing, or premature bulb failure. Always check bulb and dimmer compatibility before purchasing either.
Dimmers are best suited to spaces where you vary how a room feels - living rooms, dining areas, bedrooms, and home offices. They're less practical in spaces you pass through briefly, where adjusting brightness rarely happens in practice. Dimming also pairs well with thoughtful layered lighting design that lets you shift between task and ambient modes.
| Dimmers | Occupancy Sensors | Timers | |
|---|---|---|---|
| Primary function | Adjusts brightness level | Auto on/off via motion | Scheduled on/off by time |
| Best room types | Living, dining, bedroom | Hallway, bath, garage | Outdoor, travel, plants |
| Energy savings mechanism | Reduces wattage drawn | Prevents lights left on | Limits hours of operation |
| LED compatibility | Requires dimmable LED | Works with most LEDs | Works with most LEDs |
| Neutral wire required | Usually not required | Often required | Varies by model |
| DIY friendliness | Moderate | Moderate | Generally straightforward |
| Ongoing user effort | Manual adjustment needed | Fully automatic | Set-and-forget |
Occupancy Sensors: Lights That Follow You
Occupancy sensors (also called motion sensors or vacancy sensors) detect movement - typically via passive infrared (PIR) technology - and switch lights on or off automatically. A standard occupancy sensor turns lights on when motion is detected and off after a set delay when the room goes quiet. A vacancy sensor variant requires a manual switch-on but turns off automatically - useful where you want control over when lighting starts but not whether it's forgotten.
These sensors shine in spaces where lights are routinely left on unnecessarily: hallways, bathrooms, laundry rooms, garages, and closets. Studies on commercial buildings consistently show occupancy sensors reducing lighting energy use in applicable spaces by 30-50%; residential gains vary but follow the same logic - the less predictable the usage pattern, the more a sensor helps.
Installation considerations matter. Most occupancy sensor switches replace a standard wall switch and require a neutral wire at the switch box - a wire that older homes sometimes lack. Confirming your wiring before purchasing a sensor saves frustration. For more complex wiring situations, consult a licensed electrician.
Test Your Wiring Before You Shop
Before purchasing an occupancy sensor or smart dimmer, remove the existing switch cover plate (with power off) and check whether a neutral wire - typically white and bundled separately - is present. Many modern sensors require it, and discovering its absence after purchase means a return trip to the store. When in doubt, have an electrician confirm your wiring configuration.
Timers: Reliable Scheduling for Fixed Routines
Timers allow lights to operate on a set schedule, independent of manual control. They range from simple mechanical plug-in units to programmable in-wall switches with astronomical settings that automatically adjust to sunrise and sunset times throughout the year.
Outdoor lighting is the clearest use case. Porch lights, pathway fixtures, and security lighting that runs all night consume significant electricity - and a timer ensures they run only when useful. Astronomical timers are particularly efficient because they self-adjust seasonally without reprogramming.
Indoor timers have more limited but still valid applications: lamps in unoccupied rooms during travel, grow lights for indoor plants, or accent lighting you want active only during evening hours. They're less flexible than sensors for spaces with irregular schedules, but for anything predictable and recurring, a timer is simple, reliable, and low-maintenance.
For outdoor-specific ideas that don't require any wiring at all, explore budget outdoor lighting options that work independently of your home's electrical system.
Installation: What to Know Before You Start
All three control types involve working at the electrical switch box, which requires turning off the circuit breaker and confirming power is off with a non-contact voltage tester before touching any wiring. This step is non-negotiable for safety.
Beyond that baseline, complexity varies. A straightforward single-pole dimmer or timer swap in a modern home with accessible neutral wiring is a reasonable DIY project for someone comfortable with basic electrical work. Three-way switch configurations (where a fixture is controlled from two locations) are more involved and easier to get wrong.
If you're unsure about your wiring setup, or if your home is older and wiring history is unclear, having a licensed electrician assess the switch box first is worth the cost. Permits are typically not required for a simple switch replacement, but local codes vary - check with your municipality before starting. For a clear breakdown of what's safely DIY versus what warrants professional help, see what lighting work is safely DIY and what isn't.
This article is for informational purposes only. Electrical work carries safety risks; always follow local codes and consult a licensed electrician when in doubt.
The content on this site is for informational purposes only and is not a substitute for professional advice. Always consult a qualified professional for guidance specific to your situation.