

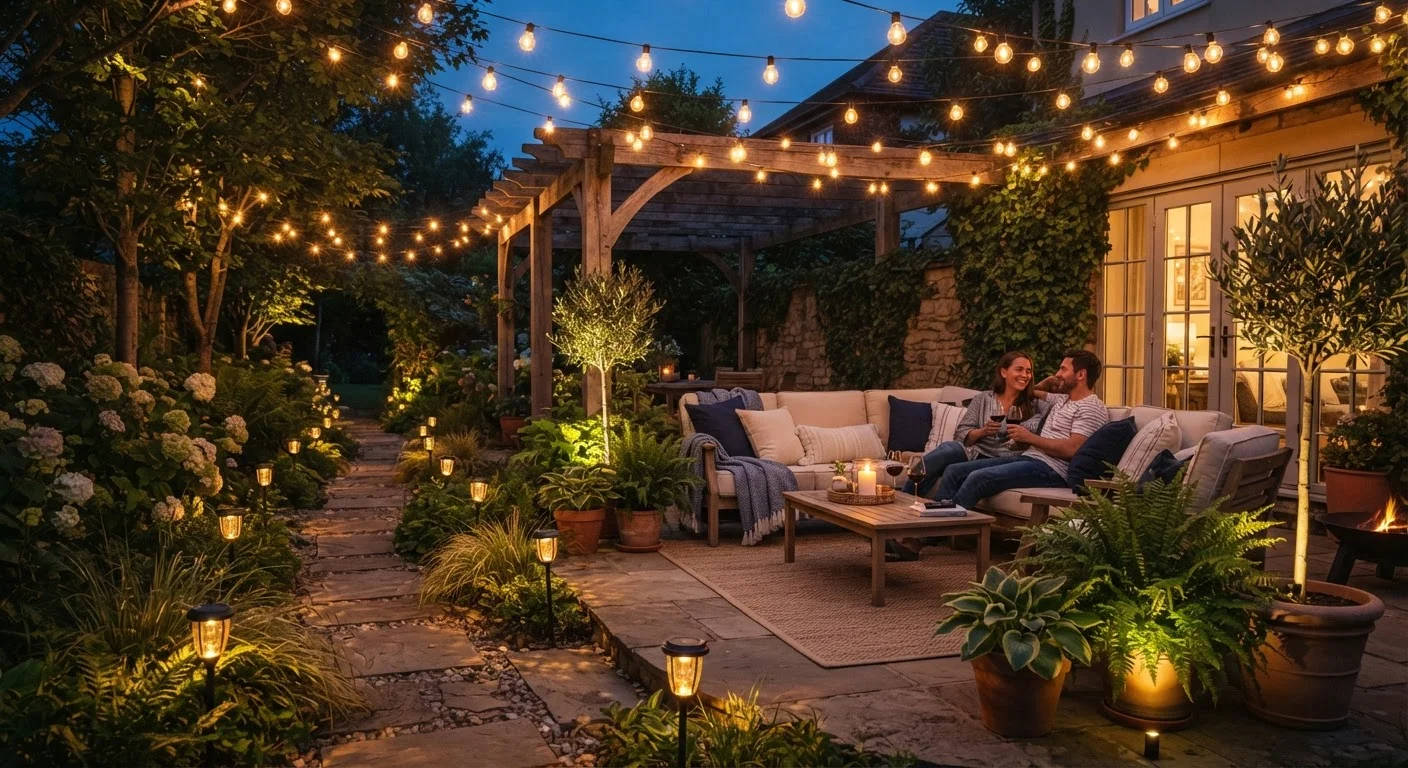
Why No-Wire Outdoor Lighting Has Become So Capable
A decade ago, solar garden lights were dim, unreliable, and prone to failing within a season. That reputation no longer holds. Modern solar panels are more efficient, lithium batteries hold longer charges, and LED technology delivers bright, warm light at a fraction of the energy older bulbs required. Battery-powered fixtures have similarly evolved - many now run 8-12 hours on a single charge cycle.
The practical result: homeowners can build a genuinely layered outdoor lighting scheme across an entire patio or backyard without running a single wire through conduit, digging a trench, or scheduling an electrician. This matters especially because hardwired outdoor lighting typically requires permits and licensed work in most US jurisdictions. No-wire approaches sidestep that entirely.
For a broader look at how lighting layers function together, see our guide on ambient, task, and accent lighting layers - the same principles apply outdoors.
Understanding the Three Lighting Layers Outdoors
Effective outdoor lighting - like good interior lighting - uses three layers working together:
- Ambient light provides overall illumination so people can move safely. String lights, overhead solar lanterns, and broad-beam path lights serve this role.
- Task light focuses brightness where activity happens: a grill station, an outdoor dining table, or a reading nook. Battery-powered directional fixtures or clip-on LED work lights fill this need.
- Accent light adds drama and depth - uplighting a specimen tree, grazing a textured wall, or silhouetting a planting bed creates visual interest after dark.
Most no-wire patio setups fail because they rely on a single type of light (usually path lights or string lights alone). Mixing all three layers - even with inexpensive fixtures - produces results that look intentional and polished.
Start With One Layer, Then Build
If budget is a constraint, install ambient string lights first and live with the space for a week before adding path and accent layers. You'll quickly see which zones genuinely need more light and which are already adequately covered. This staged approach prevents buying fixtures that end up unused.
What You'll Need Before You Start
Before purchasing anything, survey your space at night. Note where you naturally want light: near seating, along walkways, beside steps, and around any focal plants or structures. Photograph the space; this becomes your placement map.
What you will need
Solar string lights or battery-powered string lights
Provides the overhead ambient layer across the patio or seating area.
Solar path lights with ground stakes
Marks and illuminates walkways, steps, and garden bed edges.
Battery-powered or solar uplight fixtures
Creates accent lighting aimed at trees, plants, or walls for visual depth.
Rechargeable outdoor table lantern
Provides focused task lighting for dining or activity zones.
Shepherd's hooks or freestanding wooden posts
Supports string lights overhead without attaching to the house structure.
Weatherproof outdoor extension cord (GFCI-rated)
Powers corded string lights or fixtures from an outdoor outlet safely.
Painter's tape or small garden flags
Marks planned fixture positions during the daytime planning phase.
Step-by-Step: Building Your Lighting Layers
Work through these steps in order - each layer builds on the last. For entertaining-focused setups, outdoor entertaining layout ideas can help you plan seating zones before you finalize fixture placement.
Map Your Space and Identify Lighting Zones
Walk your patio or yard at night with a flashlight. Identify three categories of zones: movement zones (paths, steps, entry points), activity zones (dining table, grill area, seating), and accent zones (trees, planters, fences, walls). Mark each on a rough sketch or photo. This prevents over-buying and ensures every fixture has a clear purpose.
Install Ambient String Lights Overhead
String lights create the foundational ambient layer. For a freestanding setup, use shepherd's hooks or wooden posts set in weighted deck planters to span lights across the patio - no structural attachment to the house required. Space hooks or posts no more than 10-12 feet apart to prevent sag. Use outdoor-rated string lights with weatherproof sockets. Power via a weatherproof outdoor extension cord run to a GFCI outlet, or choose solar string light sets with a separate panel you can stake in a sunny spot nearby.
Line Paths and Steps with Solar Path Lights
Solar path lights handle the movement layer. Space them 6-8 feet apart along walkways - closer spacing at steps and changes in grade where footing matters most. Push stakes firmly into soil; on hardscape, use surface-mount solar disc lights that adhere or screw down without wiring. Angle panel-facing sides toward the south or southwest to maximize daily charge time.
Add Task Lighting to Activity Areas
For dining or grilling zones, a battery-powered outdoor pendant or a clip-on LED work light mounted on an umbrella pole provides focused downward light. Outdoor-rated rechargeable table lanterns serve double duty as task and ambient light for a dining table. Look for fixtures with a runtime of at least 6 hours at mid-brightness settings for practical evening use.
Place Accent Uplights at Focal Points
Ground-stake solar or battery uplights at the base of specimen trees, large shrubs, or textured walls. Angle them upward at roughly 45 degrees for natural-looking illumination. Use one or two accent points per zone - restraint creates drama. For a fence or garden wall, solar-powered wall wash fixtures mounted at the top and aimed downward (moonlighting) produce an elegant, subtle effect.
Test, Adjust, and Refine After Dark
Once everything is placed, walk the space after dark and evaluate. Look for dark patches in movement zones (a safety concern), glare from fixtures aimed at eye level, and any areas where lights compete rather than complement each other. Reposition stakes, adjust angles, and swap fixtures between zones as needed. This refinement pass typically reveals one or two placements that look different in practice than they did on paper.
Keeping It Running: Maintenance and Seasonal Adjustments
No-wire lighting is low-maintenance but not zero-maintenance. Solar panels accumulate dust and pollen, which reduces charge efficiency - wipe panels monthly with a damp cloth. Replace rechargeable batteries in cordless fixtures every 1-2 seasons, as capacity degrades over charge cycles.
In winter, solar fixtures produce less charge due to shorter days and lower sun angles. Move solar lanterns to south-facing positions for maximum exposure, or switch to battery-powered alternatives in heavily shaded northern yards during winter months.
Consider adding a dusk-to-dawn timer or occupancy sensor to fixtures near entries so they activate automatically. Our article on lighting controls including timers and occupancy sensors walks through how these controls work and where each fits best. For seasonal patio prep beyond lighting, see our seasonal outdoor living checklist.
The content on this site is for informational purposes only and is not a substitute for professional advice. Always consult a qualified professional for guidance specific to your situation.