

Why the Attic Is Your Home's Biggest Energy Leak
Heat rises - and in a poorly insulated home, it keeps rising right through the ceiling and out into the cold. The attic is consistently one of the largest sources of heat loss in US homes, yet it's also one of the most cost-effective places to address. A thin or patchy layer of old insulation, combined with gaps around light fixtures, pipes, and framing, can account for a substantial share of your heating and cooling bills.
Before you buy materials, it's worth doing a quick audit. If rooms directly below the attic feel noticeably colder in winter, if you notice ice dams forming along your roofline, or if your existing insulation looks compressed and discolored, you're looking at a problem worth fixing. For a room-by-room approach to locating heat loss throughout your home, see our insulation audit guide.
The two tasks that deliver the most impact are air sealing - plugging gaps where conditioned air escapes - and adding insulation depth to bring the attic floor up to the recommended R-value for your climate zone. R-value measures thermal resistance; a higher number means better insulating performance. The US Department of Energy recommends R-38 to R-60 for attic floors in most climate zones, though local building codes are the authoritative reference for your area.
What You'll Need Before You Start
Gathering the right materials and safety equipment before you climb into the attic will save you multiple trips and keep the work safe. Attics are physically demanding environments - low clearance, itchy insulation fibers, and potential hazards like old wiring and brittle boards make preparation essential.
What you will need
N95 or P100 respirator
Protects lungs from insulation fibers and dust during attic work.
Safety goggles and work gloves
Shields eyes and skin from fiberglass or mineral wool irritants.
Canned expanding foam (low-expansion)
Seals small gaps and penetrations around pipes, wires, and framing.
Acoustical sealant or fire-rated caulk
Used to seal gaps at top plates and around recessed fixtures where foam is inappropriate.
Fiberglass batts or blown-in insulation
The primary insulating material added to bring the attic floor to the target R-value.
Ventilation baffles (rafter baffles)
Installed at each rafter bay to keep soffit vents clear and maintain airflow under the roof deck.
Temporary attic floor boards or plywood sheets
Provides a safe walking surface so you don't step through drywall between joists.
Insulation blower (rental)
Required if using blown-in loose-fill cellulose or fiberglass for even coverage.
One point that often catches DIYers off guard: if your attic has older wiring - especially the knob-and-tube style common in homes built before the 1950s - do not cover it with insulation. Insulating over active knob-and-tube wiring is a fire hazard and is prohibited under most electrical codes. Have a licensed electrician evaluate the wiring first. For a broader look at when attic work crosses into territory best handled by a professional, see our article on insulation safety standards and permits.
Step-by-Step: Sealing and Insulating Your Attic
Follow these steps in order. Air sealing always comes before insulation - adding insulation on top of unsealed gaps is one of the most common and costly mistakes in DIY attic work. If you want to weigh the broader trade-offs of doing this yourself versus hiring out, our guide on DIY insulation trade-offs gives an honest breakdown.
Set up safe access and lighting
Before bringing any materials up, lay temporary plywood boards across the joists to create a stable walking path. Attic joists are typically spaced 16 or 24 inches apart - stepping between them risks breaking through the ceiling below. Bring a work light or headlamp; most attics have minimal natural light. Put on your respirator, goggles, and gloves before entering.
Inspect and document existing conditions
Walk the attic perimeter and note the existing insulation depth, type, and condition. Look for areas where insulation is thin, missing, or has been pushed aside by previous work. Mark any spots where you can see daylight or feel cold air coming through gaps - these are your priority sealing targets. Check that soffit vents are unobstructed.
Install ventilation baffles at each rafter bay
Push a pre-formed baffle (cardboard or rigid foam) into the top of each rafter bay, flush with the roof deck, so that it creates a clear channel from the soffit vent upward. Staple or tack them in place. This step ensures that adding insulation depth won't block the airflow critical to preventing moisture buildup under the roof.
Seal all air gaps before adding insulation
Use low-expansion spray foam to fill gaps around plumbing pipes, electrical conduits, and framing penetrations. For larger gaps or irregular shapes, cut rigid foam board to fit and seal the edges with acoustical sealant. Pay close attention to the top plates of interior walls - these are common bypass pathways where conditioned air escapes directly into the attic. Also seal around any recessed light fixture housings that are not IC-rated.
Don't forget the attic hatch: weatherstrip the frame and add a rigid foam cover or purchase an insulated attic stair cover if you have pull-down stairs.
Add insulation to reach your target R-value
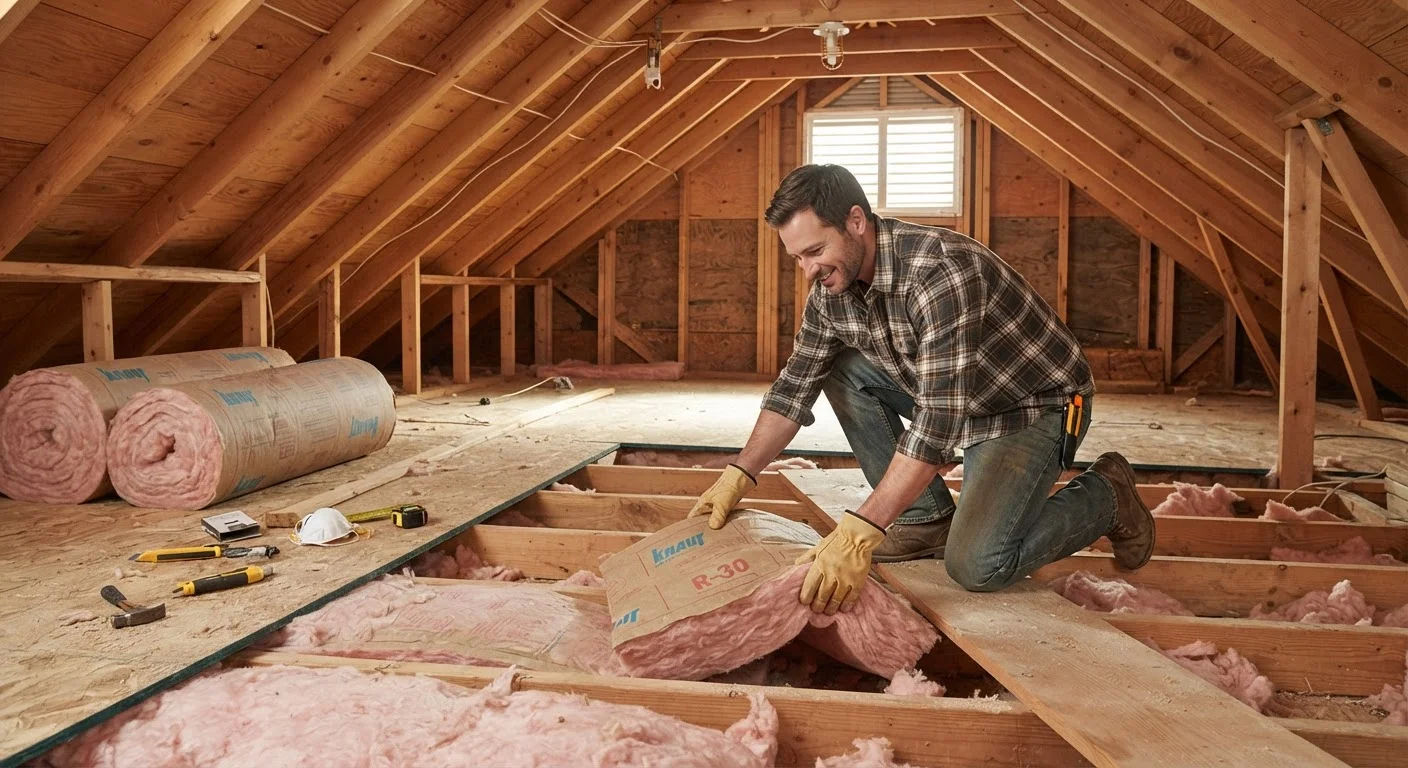
Calculate how much insulation you need to add based on your current depth and your target R-value. For fiberglass batts, lay the first layer perpendicular to the joists to cover them (joists themselves conduct cold), then add a second layer running across the first if more depth is needed. For blown-in cellulose or fiberglass, set up the rental blower according to the manufacturer's directions and work from the far end of the attic toward the access hatch, maintaining consistent depth using depth markers stapled every few feet.
Verify coverage and clean up
Once insulation is in place, do a final walk-through (on your boards) to check that coverage is even, no baffles have been buried, and no electrical boxes or vents are obstructed. Remove your temporary boards, collect any debris, and dispose of empty packaging according to local waste guidelines. Wash exposed skin thoroughly after leaving the attic - insulation fibers can cause irritation for several hours if left on skin.
Knob-and-Tube Wiring Requires Professional Evaluation
If your home was built before approximately 1950, it may have knob-and-tube wiring - an older style that relies on open-air cooling to operate safely. Covering this type of wiring with insulation can create a serious fire hazard and is prohibited by most electrical codes. Do not proceed with attic insulation until a licensed electrician has inspected and cleared the wiring. This is a non-negotiable safety requirement, not a precaution to skip.
Protecting Ventilation and Avoiding Common Mistakes
One of the most damaging errors in attic insulation is blocking soffit vents - the openings along the underside of the roof eaves that allow fresh air to circulate under the roof deck. Without this airflow, moisture accumulates, which can rot roof sheathing and promote mold growth. Install pre-formed cardboard or foam ventilation baffles (also called rafter baffles) at the top of each rafter bay before adding insulation to keep those air channels open.
Also avoid insulating over recessed light fixtures unless they are rated IC (Insulation Contact). Non-IC fixtures generate enough heat that surrounding insulation creates a fire risk. If you're unsure of your fixture ratings, check the label inside the fixture housing or consult an electrician.
Air gaps around plumbing stacks, chimney chases, and attic hatches are common oversights. The attic hatch itself is often uninsulated - adding a rigid foam cover or an insulated attic stair cover can close a significant gap for minimal cost. Draughts through gaps in the building envelope are addressed in detail in our companion guide on draught-proofing your home.
This article is for general educational purposes. Always verify local building codes and permit requirements before undertaking insulation work, and consult a licensed professional for any tasks involving electrical systems, structural elements, or spray polyurethane foam application.
The content on this site is for informational purposes only and is not a substitute for professional advice. Always consult a qualified professional for guidance specific to your situation.