

Our Verdict
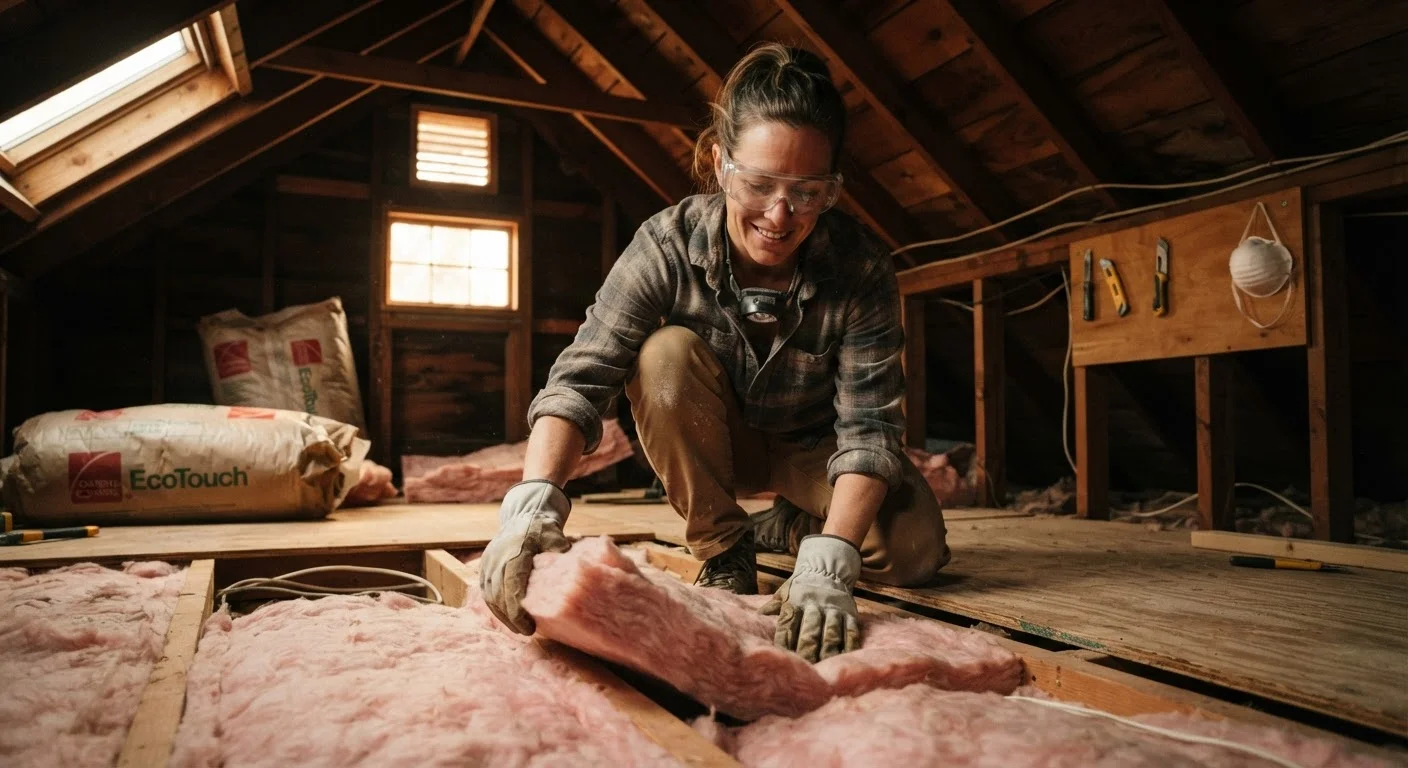
DIY insulation installation is a genuinely viable option for homeowners willing to learn the basics, invest in proper safety equipment, and stick to accessible, lower-risk areas like attics and basement rim joists. However, it's not universally the right call - complex retrofits, hazardous materials, or whole-house projects often deliver better long-term results when handled by qualified professionals.
Best suited for confident DIYers tackling accessible, uncomplicated spaces such as open attics or exposed crawl spaces, where batt or loose-fill insulation can be installed safely without specialized equipment.
Why Homeowners Consider DIY Insulation
Insulation is one of the highest-impact improvements you can make to a home's energy efficiency. The U.S. Department of Energy estimates that properly air-sealing and insulating can reduce heating and cooling costs noticeably - making it a compelling target for DIY intervention. Labor costs often account for a significant portion of a professional insulation job, so doing the work yourself can, in the right circumstances, stretch your budget meaningfully.
But cost savings are only part of the picture. Understanding where DIY is realistic - and where it isn't - is what separates a smart upgrade from a costly mistake. If you're new to the topic, this first-timer's overview is a practical place to begin before picking up a utility knife.
Significant labor cost savings on accessible projects
Professional installation labor can account for 40-50% of a typical insulation job's total cost. In straightforward areas like open attics, a homeowner doing the work themselves can reallocate that budget toward higher-quality materials or additional coverage.
Full control over material selection and coverage
Doing the work yourself means you can verify every inch of coverage, choose materials suited to your specific conditions, and address air-sealing details that crews working quickly might skip.
Flexible scheduling on your own timeline
DIY projects aren't subject to contractor availability, which can be limited during peak seasons. You can tackle the work in stages over weekends without coordinating with outside schedules.
Builds practical knowledge of your home's envelope
Installing insulation yourself gives you firsthand understanding of your home's construction, air gaps, and thermal weak points - knowledge that pays off when diagnosing future comfort or moisture issues.
Entry-level tasks are genuinely beginner-friendly
Laying unfaced batts in an open attic floor or cutting rigid foam for a rim joist requires basic tools, no specialized training, and is widely considered appropriate for first-time DIYers with proper safety precautions.
The Real Limitations You Should Know
DIY insulation carries risks that aren't always obvious from a YouTube tutorial. The most common error is improper installation - compressed fiberglass batts, for example, lose R-value (a measure of thermal resistance) in proportion to how tightly they're squeezed into a cavity. Gaps, voids, and missing vapor barriers (moisture-resistant membranes installed on the warm side of insulation) create long-term problems that are expensive to correct.
There's also a health and safety dimension. Older homes may contain asbestos-containing insulation or disturbed vermiculite, neither of which should be handled without professional assessment. For a full breakdown of what crosses the line from DIY-appropriate to legally or physically hazardous, see this guide on safety standards and permits.
Installation errors reduce effectiveness significantly
Compressed, torn, or improperly fitted insulation can perform well below its rated R-value. A batt stuffed into an undersized cavity may deliver a fraction of the insulation it promises on the label.
Health risks from airborne fibers and older materials
Fiberglass and mineral wool insulation release fine particles during handling that irritate lungs, eyes, and skin. Older homes may also contain asbestos-laden insulation that is legally and medically hazardous to disturb without professional remediation.
Vapor and air barrier mistakes cause moisture damage
Installing a vapor retarder on the wrong side of the assembly - or skipping air sealing before adding insulation - can trap moisture inside wall or ceiling cavities, leading to mold growth and structural degradation over time.
Permits and inspections may be legally required
Depending on your jurisdiction and the scope of work, insulation upgrades may require a building permit and an inspection before walls or ceilings are closed. Unpermitted work can complicate home sales and void certain warranties.
Some methods require equipment beyond consumer access
Dense-pack wall insulation and large-scale blown-in applications typically require commercial blower equipment and calibrated pressure settings that aren't reliably replicable with rental or consumer-grade machines.
Attic work carries physical and heat-related hazards
Attic spaces can reach dangerously high temperatures in summer and present fall risks through unfinished ceiling surfaces. Without proper precautions - hydration, protective gear, and secure footing - the working environment poses real safety concerns.
Which Areas Are Genuinely DIY-Friendly
Not all insulation zones are created equal. Open attics are considered the most accessible DIY project: the space is visible, batts or blown-in loose-fill can be added without specialized tools, and the work is largely above finished ceilings where errors are correctable. Basement rim joists - the framed area where your home's floor structure meets the foundation wall - are another manageable target using cut-to-fit rigid foam or batt sections.
Finished wall cavities are considerably more challenging. Retrofitting insulation into walls without opening them typically requires a blower-door test and dense-pack equipment that most homeowners don't have access to. If you're weighing options for wall retrofits, this comparison of loose-fill vs. batt for existing walls outlines the trade-offs clearly. For attic-specific guidance, this attic insulation walkthrough covers air-sealing and material selection step by step.
Up to 15%
Potential heating & cooling savings from insulation
The U.S. Environmental Protection Agency's ENERGY STAR program estimates that adding insulation and sealing air leaks can reduce total heating and cooling costs by up to 15%.
40-50%
Share of insulation job cost from labor
Industry estimates suggest labor consistently represents a substantial portion of professional insulation project costs, making DIY financially appealing for straightforward applications.
90%
Of U.S. homes considered under-insulated
According to the North American Insulation Manufacturers Association (NAIMA), roughly 90% of existing U.S. homes lack adequate insulation, indicating widespread opportunity for improvement.
When to Call a Professional Instead
Spray foam insulation - both open-cell and closed-cell varieties - is a category where DIY has clear limits. Two-component spray foam kits sold for consumer use are suitable for small gaps and rim joists, but whole-wall or unvented roofline applications involve chemical handling, off-gassing hazards, and precise mixing ratios that affect both performance and fire safety. Comparing spray foam and rigid board can help you understand which situations call for which material.
Similarly, if your project triggers a building permit - which can happen with significant additions to thermal envelopes or work in conditioned spaces - the installation may need to meet specific code requirements and pass inspection. Requirements vary by municipality, so verify with your local building department before starting. The broader point: understanding the full insulation picture before committing to a DIY approach helps you avoid assumptions that lead to rework. Also worth reading: common insulation misconceptions that trip up even experienced DIYers.
Permits Vary by Location - Always Check First
Building permit requirements for insulation projects differ significantly between states, counties, and municipalities. Some jurisdictions require permits for any work that alters a home's thermal envelope; others only require them for new construction or major renovations. Before starting, contact your local building or planning department to confirm what applies to your specific project. Skipping this step can result in fines or complications when selling your home.
This article is for general informational purposes only. Always verify local building codes and permit requirements before beginning any insulation project, and consult a licensed professional for work involving hazardous materials, electrical components, or regulated installations.
The content on this site is for informational purposes only and is not a substitute for professional advice. Always consult a qualified professional for guidance specific to your situation.