

Why Draught-Proofing Pays Off Before Any Other Upgrade
Cold air sneaking in around a door frame or through a gap beneath a skirting board doesn't just make a room feel chilly - it forces your heating system to work harder to compensate, burning fuel or electricity for warmth that immediately escapes. Draught-proofing addresses the root cause: the gaps in your home's building envelope that allow uncontrolled air exchange.
Unlike insulation upgrades that may require professional installation, draught-proofing is one of the most accessible DIY tasks a homeowner can tackle. Materials are inexpensive, results are immediate, and no specialist tools are needed. If you've already done a room-by-room review, you'll have a head start - see our room-by-room insulation audit for a structured checklist to spot where heat is escaping. For a broader seasonal review, the seasonal energy audit checklist is also worth running first.
It's also worth understanding that draught-proofing and thermostat upgrades are not equivalent fixes. As we explain in why sealing air leaks beats upgrading your thermostat, gaps in the building envelope often undermine HVAC performance far more than outdated controls do.
What you will need
How to Find Draughts Before You Seal Them
Locating air leaks before buying any materials saves time and avoids guesswork. Focus your inspection on the areas where building components meet: door frames, window frames, floor edges near exterior walls, electrical outlets on exterior walls, attic hatches, and any pipe or cable penetrations through walls.
The hand test
On a cold, windy day, move your hand slowly around door and window frames, along skirting boards, and over outlet covers. Even small leaks are detectable by the slight cooling sensation against your skin.
The tissue or candle test
Hold a lit candle or a single sheet of tissue paper near suspected gaps. Movement in the flame or tissue confirms airflow. Keep the candle away from curtains or other flammables, and never leave it unattended.
Mark each leak with a small piece of painter's tape so you can return to seal it systematically rather than working from memory.
Check on a Windy Day for Best Results
Draught detection is significantly easier when there's a pressure difference between inside and outside. Schedule your inspection for a cold, breezy day when the heating is running - the contrast in temperature and pressure makes even small leaks obvious to the touch. If you can't wait for a windy day, close all windows and doors, switch on exhaust fans in the kitchen and bathrooms to depressurize the house slightly, and then run your hand test - this replicates the effect artificially.
Step-by-Step: Sealing the Most Common Draught Sources
Work through your home systematically - exterior doors first, then windows, then floors and internal gaps. The steps below cover the most impactful locations.
Seal exterior door frames with weatherstripping
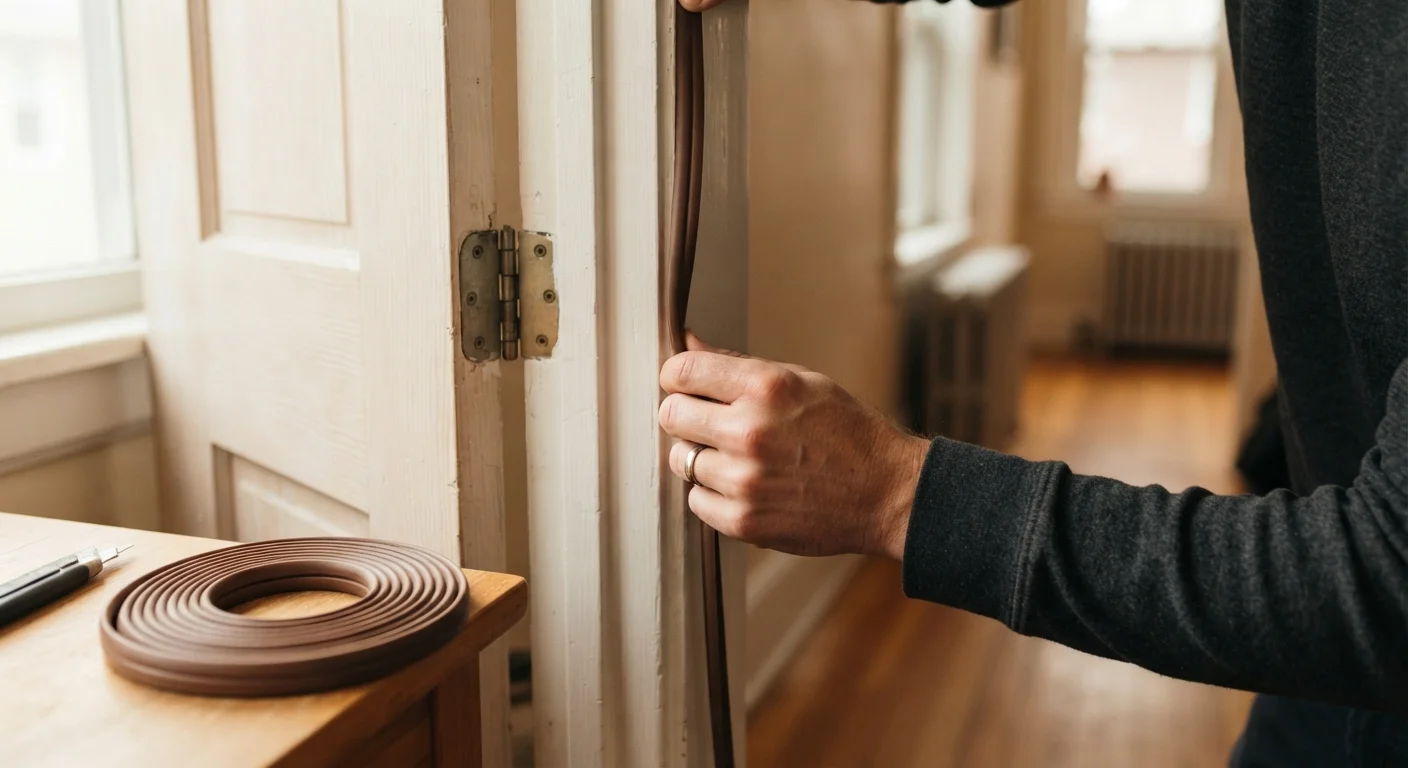
Close your front or back door and check for light visible around the frame - any light gap is also an air gap. Self-adhesive foam tape is the simplest fix: clean the door stop (the strip the door presses against) with a dry cloth, cut foam tape to length, peel the backing, and press it firmly in place. For a more durable seal on frequently used doors, V-strip or compression rubber weatherstripping lasts longer and compresses more cleanly against the door face.
Fit a door sweep to the bottom of exterior doors
The gap at the bottom of an exterior door is often the largest single leak point. A door sweep - a strip of rubber, brush, or vinyl that mounts to the interior face of the door bottom - bridges this gap. Measure the door width, cut the sweep to fit using a hacksaw or tin snips (for metal-backed versions), then screw it in place so it just grazes the threshold when the door closes. Brush-style sweeps work well on uneven or tiled thresholds; rubber blade sweeps provide a tighter seal on flat surfaces.
Caulk stationary gaps around window frames
Where the window frame meets the surrounding wall - both inside and outside - small cracks can open up as building materials expand and contract with temperature changes. Use an acrylic or silicone caulk suited for interior or exterior use depending on which side you're working on. Cut the caulk tube nozzle at a 45-degree angle to produce a manageable bead, apply a continuous line along the gap, and smooth it with a damp finger or a caulk tool. Allow it to cure fully before painting over acrylic caulk.
Add foam gaskets behind outlet covers on exterior walls
Electrical outlets on exterior walls are a surprisingly common draught point. Pre-cut foam outlet gaskets - thin foam pads that sit behind the outlet cover plate - are available at most hardware stores and require no tools beyond a screwdriver. Turn off the circuit at your breaker box before removing any outlet cover. Fit the gasket behind the cover, replace the screws, and restore power.
Seal gaps at skirting boards and floorboards
In older homes, gaps between floorboards or between the skirting board and the floor can admit cold air from the sub-floor cavity. Flexible filler or sealant (not rigid filler, which will crack as the floor moves) is the right approach here. For gaps between individual floorboards, a flexible wood filler or decorators' caulk in a matching colour works well. Press it in, smooth flush, and allow to dry. For the skirting-to-floor joint, a thin bead of flexible caulk is sufficient.
Note: If you discover gaps around gas pipes, electrical service entry points, or structural penetrations, contact a licensed professional rather than attempting to seal those yourself. Improper sealing in these areas can create safety hazards.
For heat loss happening above the living space, the attic insulation guide covers gap-sealing and insulation methods specific to that area. And if your home uses forced-air heating, it's also worth checking whether duct leakage is compounding the problem.
The content on this site is for informational purposes only and is not a substitute for professional advice. Always consult a qualified professional for guidance specific to your situation.