

Why Insulation Safety Isn't Optional
Insulation sits at the intersection of energy performance, fire safety, indoor air quality, and moisture management. Get it right and you'll enjoy lower utility bills and a more comfortable home. Get it wrong and you risk trapping moisture that breeds mold, creating fire-spread pathways, or exposing your household to airborne fibers and chemical off-gassing.
Before picking up a roll of batt insulation, it helps to understand the full picture. Our practical first-timer's overview covers material types and priority zones - a useful foundation before diving into safety specifics.
The stakes are high enough that most building codes address insulation directly, and for good reason: improperly installed insulation has contributed to house fires, chronic moisture problems, and costly remediation work that far outweighs the original savings.
Personal Protective Equipment: The Basics Before You Touch Anything
Fiberglass and mineral wool insulation release microscopic fibers that irritate skin, eyes, and the respiratory tract. Loose-fill cellulose generates fine dust. Spray polyurethane foam (SPF) contains isocyanates - compounds that can trigger serious respiratory sensitization with repeated exposure.
Always Suit Up Before Entering an Insulated Space
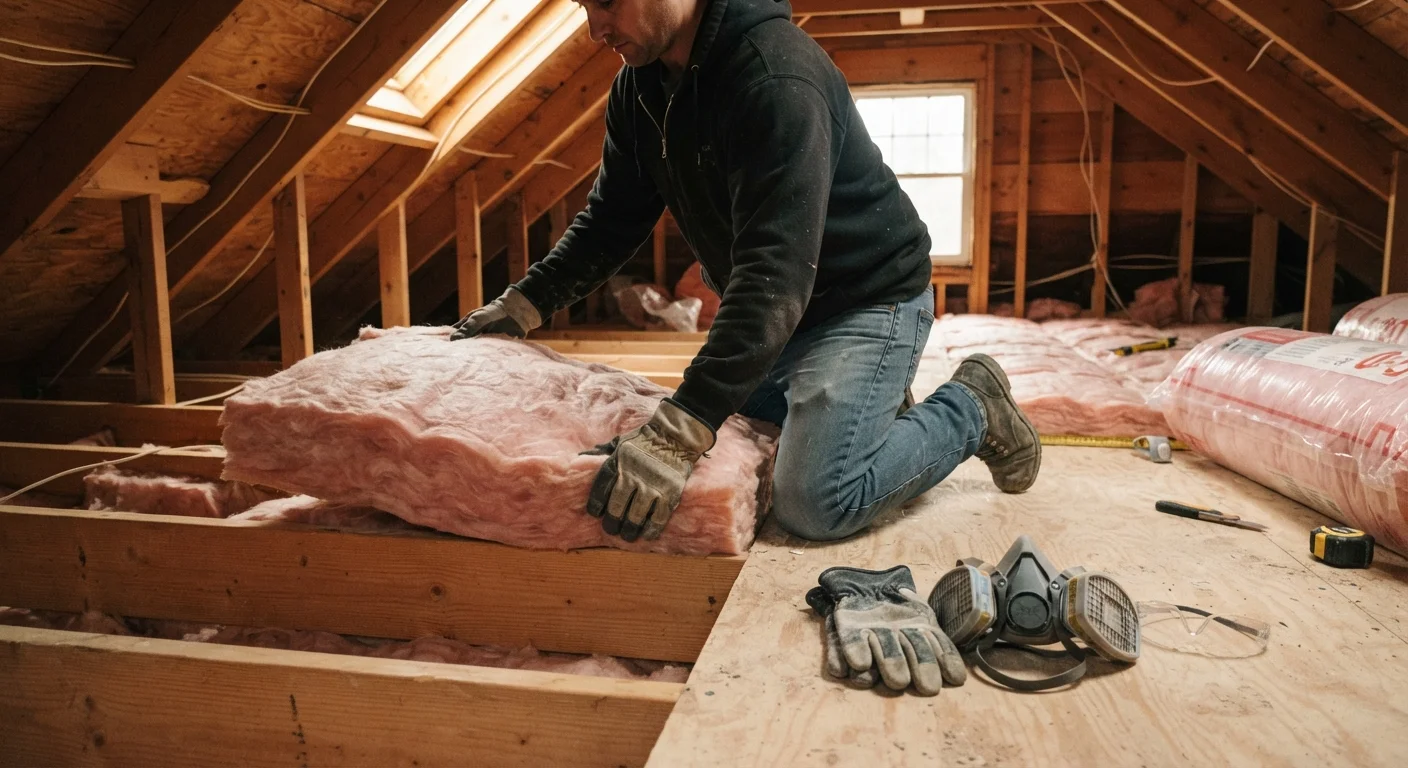
Even in an attic that was insulated years ago, disturbing existing material releases fibers and dust. Keep a dedicated set of old long-sleeve clothing, disposable gloves, safety goggles, and a fitted N95 or better respirator near your attic access point so there's no excuse to skip PPE for a 'quick look.' Wash work clothes separately from household laundry after any insulation exposure.
Minimum PPE for any insulation work includes an NIOSH-approved respirator (at minimum an N95 for particulate work; a supplied-air respirator for two-component spray foam), safety goggles, long sleeves, and disposable gloves. Never substitute a basic dust mask for a respirator when working with insulation materials.
Before opening any product, locate and read the Material Safety Data Sheet (MSDS/SDS). Our guide on reading an MSDS before you open the tin explains how to interpret these documents without a chemistry background.
Permits and Code Requirements: What Triggers Them
Whether a permit is required depends heavily on your local jurisdiction, the scope of work, and where in the home you're insulating. That said, certain situations commonly trigger permit requirements across many US municipalities:
- Fire-blocking and draft-stopping: Insulation installed in wall cavities or around penetrations must not compromise fire-rated assemblies. Many codes require inspection to confirm compliance.
- Spray foam in enclosed cavities: Two-component SPF must meet specific flame-spread and smoke-development ratings (commonly specified under ASTM E84). Inspectors frequently want to verify the product used and its installation depth.
- Attic conversions or conditioned attic spaces: Changing an attic from unconditioned to conditioned (insulating the roof deck rather than the floor) often requires a permit and HVAC review.
- Older homes with knob-and-tube wiring: In many jurisdictions, insulating over active knob-and-tube wiring is prohibited without an electrical inspection and often rewiring.
Always contact your local building department before starting. Requirements vary significantly - even between neighboring counties. Unpermitted work can affect homeowner's insurance claims and complicate future sales. For a parallel example of how permits matter in other trades, see our piece on permit requirements for home plumbing work.
Best Practices for Safe DIY Insulation
Seal air gaps before adding insulation material
Insulation slows heat transfer through conduction, but air leaks bypass it entirely. Adding insulation over unsealed gaps produces far less energy benefit than the R-value suggests and can trap moisture inside the assembly.
Match vapor control strategy to your climate zone
Installing a vapor retarder on the wrong side of an assembly - or using one where none is needed - can trap moisture and accelerate mold growth. The correct approach depends on your DOE climate zone.
Maintain required clearances around heat-producing fixtures
Covering non-IC-rated recessed lights or exhaust fans with insulation is a documented fire risk. Identifying fixture ratings before insulating prevents dangerous mistakes.
Verify achieved R-value, not just product R-value
Compressed batts deliver significantly less insulating performance than their rated value. Gaps, voids, and wind-washing further degrade real-world performance. Our article on common insulation assumptions covers R-value misunderstandings in detail.
Preserve attic ventilation pathways when insulating
Blocking soffit vents with insulation causes moisture accumulation and can void roofing warranties. Proper ventilation works in tandem with insulation, not against it.
Even within the scope of DIY-appropriate work, following established practices separates an effective upgrade from a future problem. For a candid look at the trade-offs involved, our article on the honest trade-offs of DIY insulation provides a balanced assessment.
When to Stop and Call a Licensed Professional
Some insulation tasks fall clearly outside safe DIY territory. Recognizing these boundaries before you start saves money, reduces risk, and keeps your home compliant:
- Two-component spray polyurethane foam (SPF): The chemicals involved are hazardous enough that the EPA recommends professional installation for two-component systems. Improper mixing ratios leave uncured material that off-gases indefinitely.
- Insulation adjacent to recessed lighting or exhaust fans: Unless fixtures are rated IC (insulation contact), covering them creates a fire hazard. Identifying ratings and safely modifying fixture clearances is licensed electrician territory.
- Vermiculite attic insulation: Vermiculite mined before the 1990s may contain asbestos. Do not disturb it - contact a licensed asbestos abatement professional for testing and removal.
- Exterior continuous insulation on walls: This work often requires changes to flashing, weather barriers, and sometimes structural elements. It's typically permit-required and benefits from professional coordination.
If your attic project stays within straightforward batt or blown-in work on the floor, our guide to insulating a drafty attic without a contractor outlines what's realistically manageable without professional help.
This article is for informational and educational purposes only. It does not constitute professional engineering, legal, or safety advice. Building codes and permit requirements vary by location - always verify with your local building department and consult licensed professionals for hazardous or regulated work.
The content on this site is for informational purposes only and is not a substitute for professional advice. Always consult a qualified professional for guidance specific to your situation.