

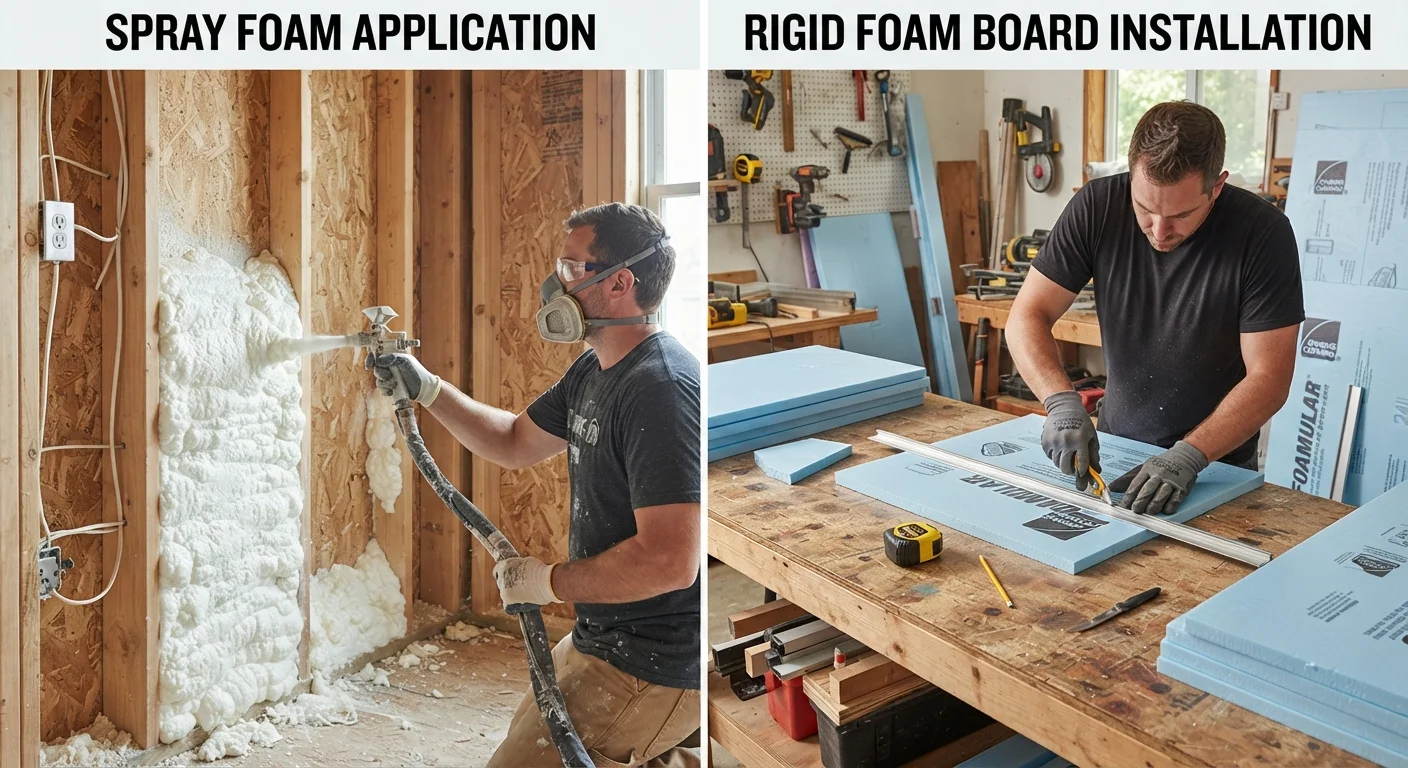
Option A
Spray Foam Insulation
The all-in-one air sealer and insulator.
Best for: Sealing irregular cavities, gaps around pipes, and hard-to-reach spaces where air infiltration is a primary concern.
Option B
Rigid Board Insulation
The precise, no-chemical panel solution.
Best for: Flat, accessible surfaces like basement walls, exterior sheathing, and crawl spaces where cut-to-fit panels can be installed cleanly.
How Each Material Works
Understanding the mechanics of each product helps you match the right tool to the job rather than defaulting to whichever one you've heard more about.
Spray foam is a two-component liquid system - polyol resin and isocyanate - that reacts on contact, expanding and hardening to fill the space it's applied to. Open-cell foam is lighter and vapor-permeable, making it suited to interior walls where moisture needs to move. Closed-cell foam is denser, resists moisture, and delivers a higher R-value per inch (roughly R-6 to R-7), but it costs more and requires proper ventilation and personal protective equipment (PPE) during application because of off-gassing during the cure period.
Rigid board insulation comes in three main types: expanded polystyrene (EPS), extruded polystyrene (XPS), and polyisocyanurate (polyiso). Each is a factory-made panel you cut to size on-site with a utility knife or a circular saw. R-values range from about R-3.8 per inch for EPS to R-6 or more per inch for polyiso. Unlike spray foam, rigid board does not expand or self-seal - you must tape seams and caulk edges to prevent air bypass. See our full insulation type guide for a deeper comparison of how rigid board fits alongside other options.
R-Value, Air Sealing, and Moisture: The Performance Details
R-value measures resistance to heat flow - higher is better - but it's only part of the performance picture. Air leakage can account for a significant share of a home's heat loss even when walls are insulated, which is why air sealing matters alongside R-value.
| Criterion | Spray Foam | Rigid Board |
|---|---|---|
| R-value per inch | R-3.5 (open-cell) to R-7 (closed-cell) | R-3.8 (EPS) to R-6.5 (polyiso) |
| Air sealing | Excellent - expands to fill voids | Moderate - requires taping and caulking |
| Vapor control | Closed-cell acts as vapor retarder | Varies by type; XPS has low permeability |
| Relative material cost | High (especially closed-cell) | Low to moderate |
| DIY accessibility | Moderate - PPE and ventilation required | High - basic tools, no chemical hazards |
| Best application | Irregular cavities, rim joists, roof assemblies | Flat walls, basement exterior, crawl spaces |
| Thermal barrier required | Yes, when exposed in living spaces | Yes, when exposed in living spaces |
Spray foam wins on air sealing because it bonds to the substrate and expands into cracks, eliminating the bypass paths that rigid panels can leave at edges and seams. Closed-cell foam also functions as a Class II vapor retarder (slowing moisture movement), which can be an advantage in cold climates but a disadvantage in mixed or hot-humid climates where moisture needs to escape. Always consult your local building code or an energy auditor before specifying a vapor retarder in climate zones where it isn't required.
Rigid board, by contrast, is predictable: its R-value doesn't vary with installer technique the way spray foam can. Proper installation - cutting panels snugly, taping seams with a compatible tape, and sealing perimeter gaps with canned foam or caulk - gets you most of the performance benefit at a fraction of the material cost. For a broader look at how rigid foam compares across material classes, see our insulation materials comparison.
Cost, DIY Suitability, and Safety Considerations
Spray foam is substantially more expensive than rigid board. Professional closed-cell spray foam installation typically runs two to three times the material cost of equivalent rigid board coverage. Consumer-grade spray foam kits are available for small jobs (rim joists, window rough openings), but covering large areas yourself with spray foam requires renting or purchasing equipment, wearing a full-face respirator, protective clothing, and working in ventilated conditions - a meaningful commitment beyond the reach of many DIYers.
Rigid board is far more accessible. A utility knife, a straightedge, and basic measurements are all you need for most cuts. The material is lightweight, produces no chemical hazards during installation, and mistakes are easy to correct before fastening. That said, getting performance out of rigid board demands attention to detail at edges and seams - gaps left unsealed undermine the system. Read about the real trade-offs of DIY insulation before committing to either approach.
Safety note: Any insulation work involving electrical panels, gas lines, or structural elements should involve a licensed contractor. Spray foam applied near electrical junction boxes requires fire-rated formulations. Rigid board left exposed inside living spaces typically requires a thermal barrier (usually drywall) per most building codes - check your local jurisdiction's requirements before finishing.
Permits and Code Compliance
Many insulation upgrades - particularly those altering attic ventilation, basement moisture management, or roof assemblies - may require a permit or inspection in your municipality. Unvented roof assemblies using spray foam are subject to specific code provisions under the International Residential Code (IRC) that not all jurisdictions have adopted. Always verify requirements with your local building department before starting work, and don't assume a product's marketing claims substitute for code compliance.
For wall retrofit scenarios where neither spray foam nor rigid board is the obvious fit, compare loose-fill and batt insulation for finished walls as an alternative.
The content on this site is for informational purposes only and is not a substitute for professional advice. Always consult a qualified professional for guidance specific to your situation.