

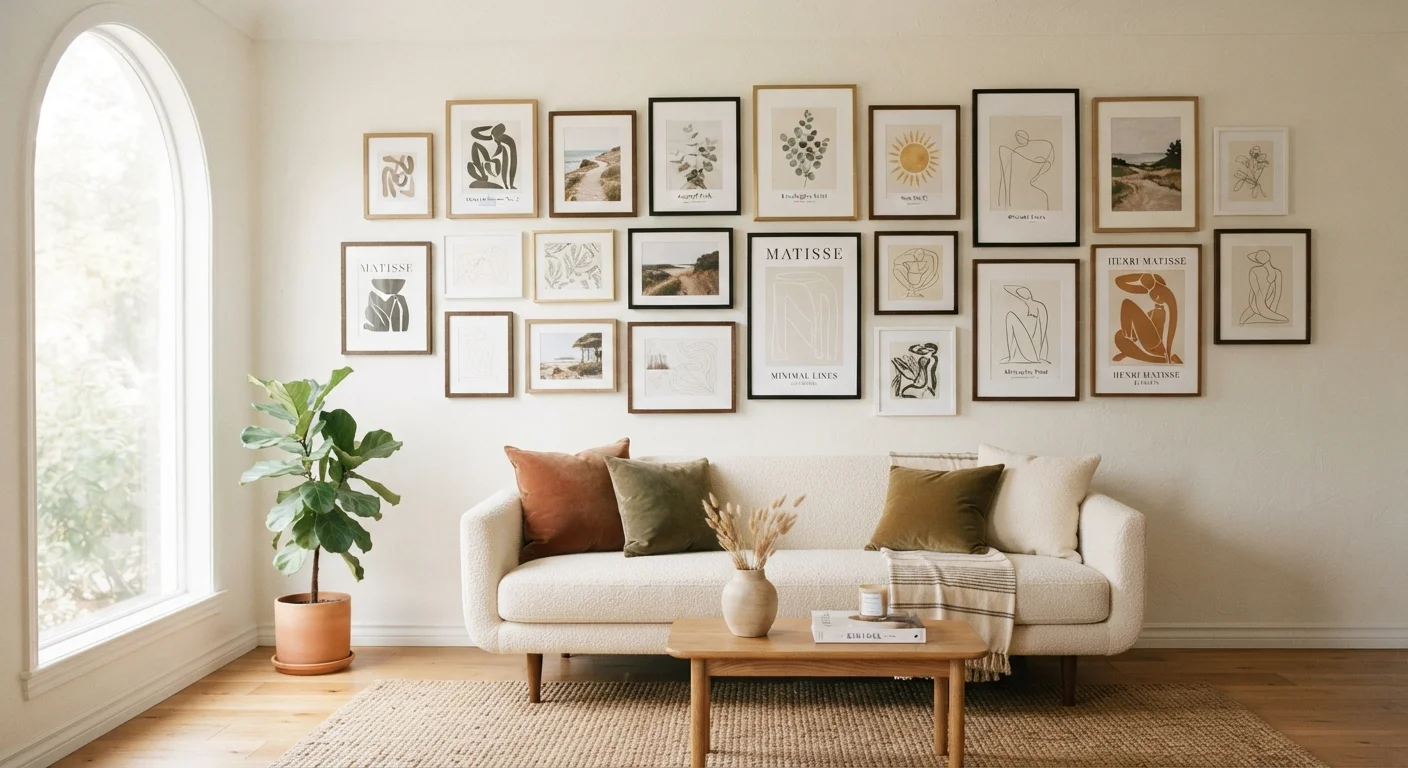
Why Gallery Walls So Often Disappoint
Gallery walls look effortless on design blogs and renovation shows - but in real homes, they frequently end up crooked, overcrowded, or oddly placed. The good news: every common failure has a concrete, fixable cause. Whether you're starting fresh or rethinking a wall that never quite clicked, understanding what goes wrong is the fastest path to getting it right.
Before picking up a hammer, it's worth running through a pre-project checklist. Our wall decor checklist covers wall type, weight limits, and stud location - all critical factors before you commit to a single nail hole.
Hanging frames too high on the wall.
Why it happens: People naturally look up when deciding where to hang art, which pushes the arrangement above a comfortable viewing zone and disconnects it from the furniture below.
Skipping a floor layout before drilling.
Why it happens: Enthusiasm kicks in and it feels faster to just start nailing - but this approach leads to misaligned frames, regretted placements, and avoidable wall damage.
Using inconsistent spacing between frames.
Why it happens: When frames are added one at a time without measuring, gaps drift - some frames end up crowded together while others float awkwardly apart.
Mixing frames without a unifying element.
Why it happens: The appeal of an eclectic gallery wall leads people to pull frames from different rooms, eras, and finishes - resulting in a collection that looks accidental rather than curated.
Ignoring wall type and hardware requirements for heavier frames.
Why it happens: It's tempting to use the same small nail for every frame, regardless of weight - especially when everything looks similar from the front.
Making the arrangement too small for the wall.
Why it happens: Timidity - starting with just a few frames and never expanding - leaves the arrangement looking isolated and the surrounding wall uncomfortably bare.
Putting It All Together: Spacing, Layout, and Finishing Right
Once you've sidestepped the individual pitfalls, the bigger picture comes together with a few deliberate steps. Start by arranging all your frames on the floor in front of the wall. Photograph the layout from standing height - this bird's-eye view reveals awkward gaps or lopsided weight distribution that your eye misses when you're crouching over pieces.
Aim for a consistent gap between frames - typically 2 to 3 inches works well for most rooms. Use painter's tape on the wall to map out the outer boundary of your arrangement before any nailing begins. This low-stakes test run lets you step back, live with the shape for a day, and adjust freely.
57"
Standard art hanging height from floor
Major art museums and gallery institutions commonly hang artwork so its center falls at approximately 57-60 inches - aligning with average eye level.
2-3"
Recommended gap between gallery frames
Interior designers broadly recommend a consistent 2-to-3-inch gap between frames as the sweet spot between crowded and disconnected.
Center the overall composition at roughly 57-60 inches from the floor to the visual midpoint of the arrangement - the same standard used in most gallery spaces. This height works whether you're hanging above a sofa, along a staircase, or on an open wall. For tricky or awkwardly shaped spaces, gallery wall layouts for awkward spaces offers room-specific arrangement logic worth exploring before you finalize your plan.
If your wall feels off even after careful hanging, the issue may be the wall itself rather than the frames. A competing accent wall color or an unbalanced focal point can undercut even a perfectly hung arrangement - accent wall troubleshooting can help you diagnose what's really going on. And if drilling leaves you with patching to do, common drywall repair mistakes walks through the most frequent missteps so your fixes hold up properly.
The content on this site is for informational purposes only and is not a substitute for professional advice. Always consult a qualified professional for guidance specific to your situation.