

Why a Focused Toolkit Beats a Cluttered One
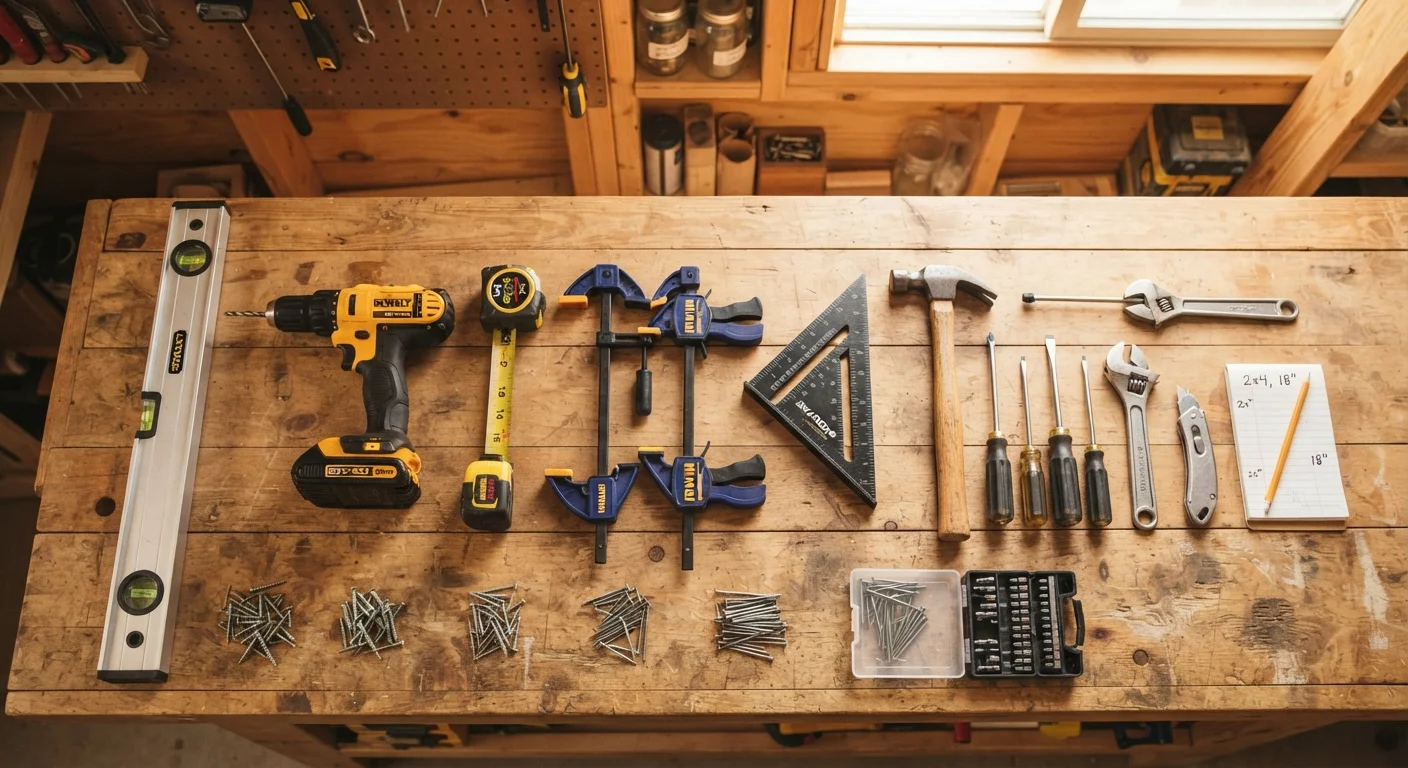
Most DIY organizer builds - shelves, bins, wall-mounted racks, drawer inserts - rely on a surprisingly small set of tools. Owning twenty tools you rarely use doesn't make projects easier; knowing six tools well does. This reference breaks the toolkit into two tiers: hand tools you'll reach for on nearly every project, and power tools that earn their place once you're building regularly.
If you're just getting started, see our plain-language starting point for first-time organizer builders before buying anything. For a broader look at what's worth owning versus borrowing, The Weekend Renovation Toolkit offers a clear-eyed framework.
| Minimum hand tools for a first build | Tape measure, combination square, level, hammer, screwdrivers, utility knife |
| Most versatile power tool | Cordless drill/driver |
| Clamps needed for most organizer projects | At least 2 (12-24 in bar or F-clamps) |
| Common wall stud spacing (US) | 16 or 24 inches on center (Standard US residential framing practice) |
| Sandpaper grits for finishing | 120-grit (shaping), 220-grit (final smooth) |
| Recommended hammer weight for general use | 16 oz claw hammer |
The Essential Hand Tools
These are the tools that handle layout, alignment, and fastening - the backbone of any organizer project.
- Tape measure (25 ft): Used for every cut and layout decision. A locking blade and clear markings at both imperial and metric scales save rework. Measure twice; cut once applies literally here.
- Combination square: Checks that corners are a true 90°, marks cut lines, and gauges depth. Indispensable for shelving units where square corners prevent wobble.
- Level (24-48 in): Wall-mounted shelves and racks that aren't level look wrong and can cause items to slide. A basic bubble level is sufficient for most organizer work.
- Hammer: Used for driving nails, tapping pieces into alignment, and setting fasteners. A 16 oz claw hammer handles most tasks and doubles for pulling nails.
- Hand saw or miter box saw: For projects where a power saw isn't available or the cuts are simple. A fine-tooth crosscut saw paired with a miter box gives clean, square cuts in wood and MDF.
- Screwdrivers (flathead and Phillips): Even when a drill is available, a manual screwdriver gives better feel for final tightening without over-driving screws into soft wood.
- Utility knife: Scores MDF edges before cutting (reducing tear-out), trims shelf liner, and opens packaging cleanly.
- Clamps (at least 2): Frees up both hands while glue sets or while drilling pilot holes. Bar clamps or F-clamps in a 12-24 in range cover most organizer-scale work.
For more on caring for these tools over time, Keeping Your Hand Tools in Working Order covers cleaning, sharpening, and storage habits that extend tool life.
Power Tools Worth Adding
Two power tools handle the majority of cuts and fastening tasks in DIY organizer builds. You don't need both immediately - prioritize based on the projects you plan to build first.
- Cordless drill/driver: The single most useful power tool for organizer work. It drives screws, drills pilot holes to prevent wood splitting, and - with a spade or hole-saw bit - bores holes for dowels or cord management. Look for one with variable speed and a clutch setting to avoid over-driving. Power Tools Basics covers safe usage and technique for beginners.
- Circular saw or jigsaw: Sheet goods (plywood, MDF) rarely come pre-cut to exact project dimensions. A circular saw makes straight crosscuts and rips efficiently. A jigsaw handles curves, cutouts, and tighter spaces where a circular saw won't fit. If you're building only simple rectangular shelves, a circular saw with a straightedge guide covers almost everything.
A third tool worth mentioning - though not strictly required - is a random-orbit sander. It smooths cut edges quickly and prepares surfaces for paint or stain. You can substitute hand-sanding with 120- and 220-grit paper, but a sander saves significant time on larger pieces.
For projects that go beyond storage - like decorative frames or craft-based components - The DIY Decor Toolkit covers the additional materials and fasteners that cross over into decor work.
Safety Notes and When to Call a Pro
Basic organizer builds - freestanding shelves, wall-mounted racks anchored into studs, and simple bin frames - fall well within the reach of a careful DIYer. However, a few situations call for additional caution or professional involvement:
- Wall anchoring into masonry or tile: Requires masonry bits and appropriate anchors. Drilling into tile risks cracking; consult a professional if you're uncertain about the wall substrate.
- Locating studs before fastening: Always use a stud finder before driving screws into drywall. Heavy shelves anchored only into drywall - without hitting a stud or using rated wall anchors - can pull free under load.
- Electrical proximity: Never drill into a wall without confirming there are no wires or pipes behind it. Use a multi-scanner tool that detects both studs and live wires. If in doubt, consult a licensed electrician before drilling.
For a comprehensive look at how tools, materials, and methods fit together across a full organizer project, see DIY Organisers from Start to Finish. And if you're curious about what household items can substitute for purpose-built components, Unexpected Household Items That Work Well as DIY Organizer Components is worth a look before your next hardware store run.
This article is for informational and educational purposes only. Always follow tool manufacturer safety guidelines, verify local building codes, and consult a licensed professional for any work involving electrical systems, structural elements, or tasks beyond your skill level.
The content on this site is for informational purposes only and is not a substitute for professional advice. Always consult a qualified professional for guidance specific to your situation.