

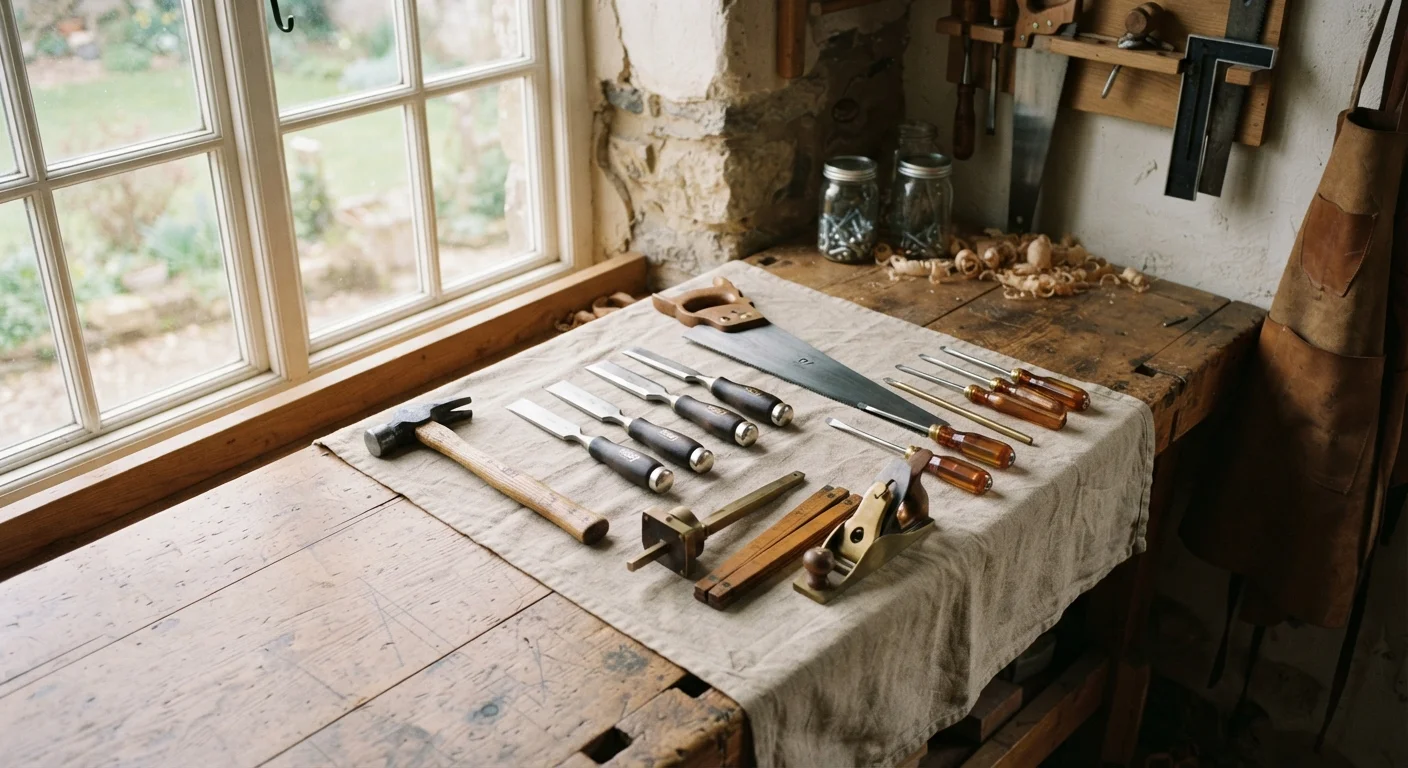
Why Hand Tool Maintenance Matters More Than Most Beginners Realize
Hand tools seem indestructible. Drop a hammer, toss a chisel in a drawer, leave a saw leaning against the garage wall - and they still look like tools. The trouble is that neglect compounds quietly. Surface rust bites into steel, dull edges demand more force and cause more slipping, and a handle that's slightly loose becomes a genuine hazard under load.
Good maintenance isn't about perfectionism. It's about protecting a small investment so you don't buy things twice. If you're still building your collection, see our guide on expanding your toolkit gradually for advice on which tools deserve the most care first.
The habits here are simple enough for a complete beginner and take far less time than rescuing a rusted or broken tool later.
What you will need
Step-by-Step: Clean, Sharpen, and Store Your Hand Tools Correctly
Work through these steps after a project - or set aside an hour every few months for a full tool audit. Either approach works.
Inspect Every Tool Before You Start
Lay all your tools out on a workbench or tarp. Look for rust spots, nicked or rolled edges on cutting tools, loose or cracked handles, and any bent or distorted metal. Make a mental note - or a written list - of what needs work beyond a basic clean. This triage step prevents you from putting a tool back into service before addressing a real problem.
Clean Metal Surfaces
Wipe all metal surfaces with a clean rag dampened with mineral spirits or a mild degreaser to remove grease, sawdust, and grime. For surface rust, rub the affected area with fine steel wool (#0000 grade) using small circular motions. A rust eraser - a pumice-based block sold at hardware stores - works well on flat surfaces like saw plates and chisel backs. Rinse or wipe clean when done.
Sharpen Cutting Tools
A dull chisel or hand saw requires far more force to use and is more likely to slip. For chisels and plane blades, use a sharpening stone (whetstone): start on the coarser side to re-establish the bevel, then move to the finer side to refine the edge, keeping consistent angle pressure throughout. A simple honing guide - a small clamp-like jig - helps beginners hold the correct angle reliably. Hand saws with individual teeth require a saw file and are more involved; if this feels beyond your current skill level, a local hardware store or saw shop can sharpen them affordably.
Oil and Protect Metal Parts
Apply a thin coat of light machine oil or tool oil to all bare metal surfaces using a clean rag or a few drops spread by hand. This creates a moisture barrier that prevents rust from forming in storage. You don't need much - a barely-visible film is enough. Wipe away any excess so surfaces aren't slippery when you pick the tool up next time.
Condition Wooden Handles
Dry or cracked wooden handles are uncomfortable, less secure, and more prone to breaking under impact. Apply a small amount of raw linseed oil to the handle with a rag, working it into the wood. Wipe away the excess and allow the handle to dry in a ventilated space for several hours before use. Repeat once or twice a year, or whenever the wood starts to look parched and gray.
Store Tools Properly
Store hand tools in a dry, ventilated space - a wall-mounted rack, a pegboard, a tool chest with drawer liners, or a canvas roll for chisels all work well. Keep tools off concrete floors, which hold moisture and accelerate rust. Hang or rack tools individually where possible so edges don't contact each other in storage. For long-term storage, wrap tools in a lightly oiled cloth or use vapor-corrosion-inhibitor (VCI) bags, which are sold at hardware stores for exactly this purpose.
Common Mistakes That Shorten Tool Life
Even diligent DIYers fall into habits that quietly damage tools over time. The most frequent culprits:
- Storing tools in sealed plastic bins without ventilation. Trapped humidity accelerates rust. Add a silica gel packet or leave lids slightly ajar if ventilation is limited.
- Leaving wooden handles unprotected. Raw wood dries, cracks, and loosens. A thin coat of linseed oil applied once or twice a year keeps handles stable and comfortable.
- Ignoring the first sign of rust. Light surface rust is easy to remove with steel wool. Left alone, it pits the steel and becomes a restoration project - or a write-off.
- Over-tightening wedged hammer handles. Soaking a loose wooden handle in water is a temporary fix; the wood swells, then shrinks again. A proper replacement wedge is the right repair.
For a broader look at misconceptions that trip up new tool owners, our article on common hand tool myths is worth reading before you go shopping for replacements you may not need.
Build a Quick Post-Project Routine
You don't need a maintenance session after every nail - but a 60-second wipe-down before putting tools away makes a significant difference over time. Keep a clean rag and a small bottle of tool oil near your storage area as a visual reminder. Small, consistent habits prevent the kind of rust and grime buildup that turns maintenance into a restoration project.
Safe Habits Go Hand-in-Hand With Maintenance
A well-maintained tool is also a safer tool - sharp edges cut where they're aimed, handles stay secure under force, and rust-free surfaces give a reliable grip. But maintenance alone doesn't make tool use safe. Technique and awareness matter just as much. Our companion piece on hand tool safety habits covers the foundational practices every DIYer should internalize early.
If you use power tools alongside your hand tools, the same care principles apply - batteries, blades, and motors have their own maintenance requirements. See storing and maintaining power tools for guidance specific to that category.
Consistent, modest effort - a wipe-down here, a few strokes on a sharpening stone there - is genuinely all it takes to keep a basic hand tool kit in reliable working order for decades.
The content on this site is for informational purposes only and is not a substitute for professional advice. Always consult a qualified professional for guidance specific to your situation.