

Summary
22 items · 10-20 minutes
Why a Pre-Session Checklist Matters
Most power tool accidents happen not because someone was careless, but because they skipped a step they assumed was fine. A blade was loose. An extension cord was frayed. Safety glasses sat on the shelf. None of those oversights feel significant - until they are.
This checklist is designed to take 10-20 minutes before any power tool session, whether you're a first-timer or a seasoned weekend warrior. It doesn't replace reading your tool's manual or building deeper knowledge - for that, see our beginner's guide to power tools. But it does give you a reliable routine that catches problems before they become injuries.
Work through these groups in order: workspace first, then your personal protection, then the tool itself.
Workspace Setup
Personal Protective Equipment (PPE)
Power Source and Cables
Tool Condition and Guards
Tools and Gear You'll Need for This Checklist
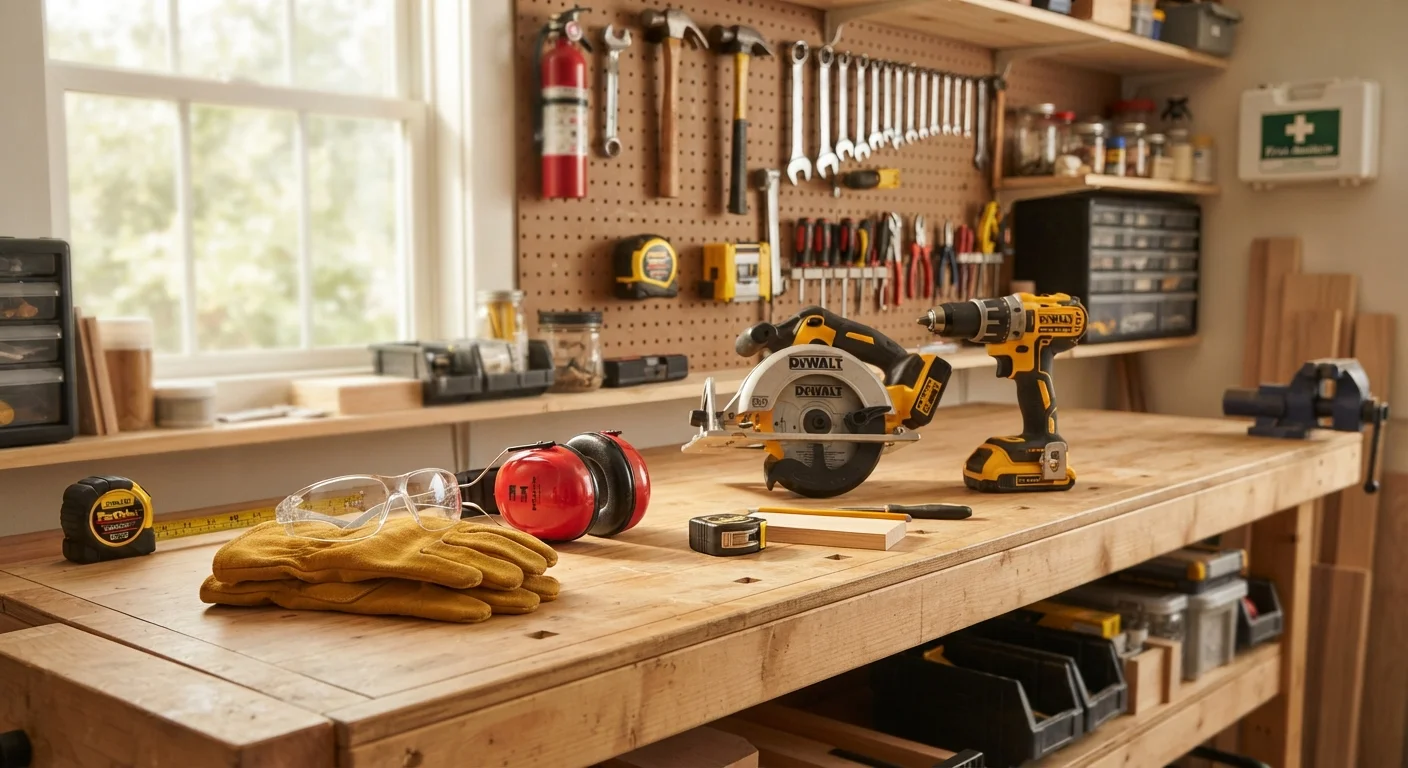
Before running through the checklist, gather the following items. You're not buying anything new - you're confirming what you already have is present, functional, and in good condition.
Safety glasses or goggles (ANSI Z87.1 rated)
Protects eyes from flying debris, dust, and sparks during cutting or grinding.
Hearing protection (earplugs or earmuffs)
Prevents cumulative hearing damage from sustained exposure to loud power tools.
Dust mask or respirator (N95 minimum)
Filters fine particles generated by cutting wood, drywall, or composite materials.
Work clamps or a bench vise
Secures workpieces so both hands remain away from the blade or bit.
GFCI-protected outlet or adapter
Cuts power instantly if a ground fault is detected, reducing electrocution risk.
Heavy-gauge extension cord (12 AWG or lower)
Carries adequate current to corded tools without voltage drop or overheating.
Blade/bit wrench or chuck key
Ensures blades and bits are properly torqued and seated before use.
First aid kit
Provides immediate treatment for minor cuts or abrasions that may occur despite precautions.
If your workspace is a dedicated shop or garage, our companion article on setting up a safe home workshop covers the broader spatial decisions - lighting placement, bench height, and cable management - that complement this pre-session routine.
After the Checklist: Maintenance and Storage
A pre-session check is only half the equation. How you store and maintain your tools between sessions directly affects what condition they're in when you return to the workbench. Blades dull faster when stored loose and unprotected. Battery packs degrade when stored fully discharged. Moisture causes rust on uncoated surfaces.
For a full breakdown of between-session habits, see our guide on storing and maintaining power tools. And if you work with hand tools alongside power tools, it's worth building the same kind of safety habits there too - hand tool safety habits apply whether you're holding a chisel or a router.
Never Disable or Bypass a Safety Guard
Blade guards, anti-kickback pawls, and riving knives exist because testing has shown they prevent serious injury. Removing or taping back a guard to make a cut easier is one of the most common causes of severe power tool injuries. If a guard seems to interfere with your cut, stop and research the correct technique or jig for that operation - the answer is never to remove the protection.
This article is for informational purposes only. Always consult your specific tool's owner manual and follow all applicable local safety codes. For projects involving electrical systems, gas lines, or structural elements, consult a licensed professional.
The content on this site is for informational purposes only and is not a substitute for professional advice. Always consult a qualified professional for guidance specific to your situation.