

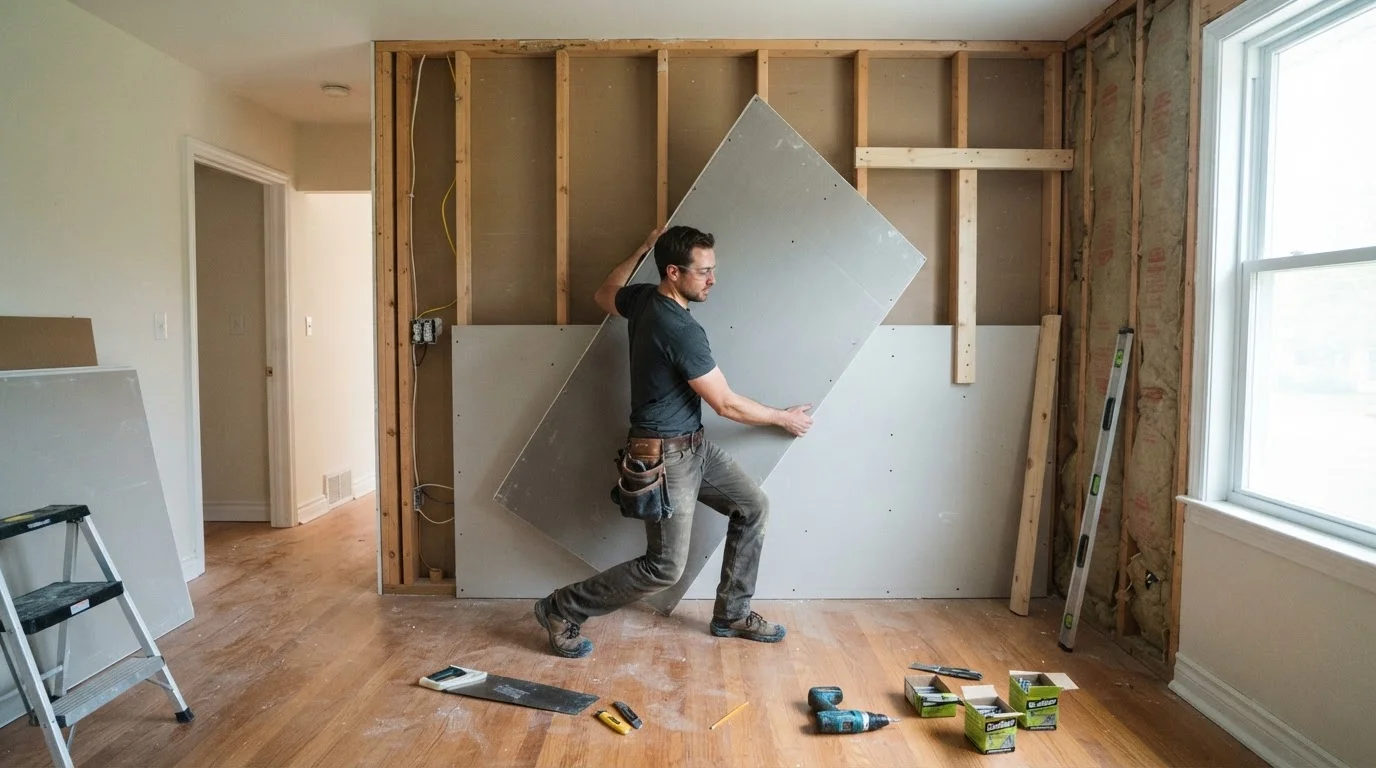
Why Solo Drywall Work Demands a Different Approach
Drywall is heavy, unwieldy, and unforgiving. A standard 4×8 sheet of half-inch drywall weighs roughly 57 pounds, and ceiling work can demand holding that weight overhead while simultaneously driving fasteners. When you have a helper, one person holds and one person fastens - a simple division of labor. Alone, you need substitutes for those extra hands.
The good news is that generations of solo contractors and DIYers have developed reliable workarounds. Understanding them before you begin is far more effective than improvising under pressure with a heavy sheet tipping away from the wall. If you're new to drywall materials and terminology, start with a first-timer's overview before attempting a full panel install alone.
The strategies below address the specific physical challenges of solo work - lifting, positioning, and securing - so you can move through the job methodically and safely.
Protect Your Back Before You Start
Drywall panels are dense and awkward to carry - poor lifting form causes real injury. Always carry full sheets vertically rather than horizontally, keep the load close to your body, and bend at the knees when picking up from the floor. If a panel feels too heavy to control safely alone, cut it before moving it or use a panel carrier handle, a simple gripping tool available at most hardware stores.
Practical Strategies for Handling Drywall on Your Own
Mark Everything Before You Lift the Panel
Once a full sheet is in your hands, finding stud locations becomes nearly impossible. Before lifting any panel, snap chalk lines or draw clear pencil marks on the floor and ceiling plates indicating every stud center. Transfer those marks to the face of adjacent panels or tape small pieces of painter's tape at stud locations on the ceiling so they're visible from below.
For wall panels, mark stud centers on the ceiling and floor so you can drop a plumb line when the sheet is in place. This prep step turns a frantic scramble into a calm sequence of actions.
Mark stud centers on the floor and ceiling before you ever pick up the panel.
Build a T-Brace from Scrap Lumber
A T-brace - sometimes called a deadman - is a simple shop-made tool consisting of a vertical post with a horizontal crosspiece at the top, sized so the crosspiece wedges between the floor and the panel you're holding against the ceiling or upper wall. Cut the vertical piece roughly 1 inch taller than your floor-to-ceiling height so it fits snugly when angled under the panel and then pushed upright.
One T-brace frees one hand; two of them free both hands entirely. With the panel supported by braces, you can step back, adjust positioning, then drive your first fasteners without rushing. Use 2×4 lumber - it's sturdy enough to hold the panel without flexing.
Two T-braces free both hands, letting you fasten at your own pace without rushing.
Rent a Drywall Lift for Ceiling Work
Ceiling drywall installation is the hardest solo task in the trade, and no amount of clever improvisation fully replaces a proper drywall lift. These rentable mechanical devices hold a full sheet horizontally, raise it to ceiling height, and hold it there while you drive fasteners. Most equipment rental outlets carry them, and a one-day rental is a fraction of the cost of a helper or the physical risk of improvising overhead.
Thread a panel onto the lift cradle at floor level, crank it up to ceiling height using the handle, position it against the joists, and fasten. The lift does the heavy holding while you focus on alignment and fastening. For anyone with back concerns or working alone on multiple sheets, this tool is worth every dollar of the rental fee.
A rented drywall lift does the heavy overhead holding so you can focus on fastening cleanly.
Use Temporary Ledger Screws as a Third Hand
For wall panels, drive a drywall screw partway into a stud - leaving about an inch of the shank protruding - at the height where the bottom edge of your panel will rest. This creates a small shelf the panel can sit on while you push the top into position and drive your first real fasteners. Once the panel is secured, back the ledger screw out and fill the small indent with compound.
This technique is especially useful when installing panels in a staggered pattern or when cutting around outlets, because the panel stays put while you fine-tune position with both hands free.
A partially driven screw acts as a shelf, holding the panel while you drive the first fasteners.
Cut Precisely on the Floor, Not Against the Wall
Every cut you can complete accurately at floor level is a cut you don't have to manage while balancing a panel. Measure twice, transfer measurements to the sheet while it lies flat, and score-and-snap (or use a jab saw for cutouts) before the panel goes anywhere near the wall. Test-fit utility and switch box cutouts by measuring their positions relative to the panel's edges rather than guessing.
Panels that need trimming after an imprecise cut are much harder to work with alone - you'll need to lower the sheet, adjust it, and re-lift. Precision cutting at the outset is the most time-efficient habit a solo drywaller can develop.
Every precise cut made at floor level is one less awkward adjustment made at wall height.
Work in Smaller Sections When Possible
Standard 4×8 sheets are not the only option. Many home improvement outlets carry 4×4 half-sheets or you can cut a full sheet in half before you begin. Smaller panels weigh half as much, fit in tighter spaces, and require far less maneuvering - making them genuinely practical for solo repair work in closets, utility rooms, or areas with existing framing constraints.
The tradeoff is more seams, which means more taping and finishing work. In visible, prominent walls this may matter aesthetically, but in lower-visibility areas the benefit of manageability generally outweighs the extra finish labor.
Half-sheets are significantly easier to handle alone and practical for repairs in tight spaces.
Even experienced DIYers make avoidable errors under the added strain of solo work. Before finishing, review common drywall repair mistakes and their causes to catch problems early - and check drywall myths that lead to costly rework before you reach the finishing stage.
Repairs Are Easier Solo Than Full Installs
Most homeowners handling drywall alone are patching damage rather than hanging full sheets, which makes the job considerably more manageable. Smaller repair patches are lighter, easier to position, and require minimal bracing. For mid-size holes, the California patch method is especially well-suited to solo work because it eliminates the need to install a backer board inside the wall cavity.
For a complete picture of what different types of damage actually require - from nail pops to large holes - understand the full spectrum of drywall repair approaches before picking up a tool. Knowing the right method for the damage at hand prevents over-engineering small fixes and under-preparing for larger ones.
This article provides general educational guidance only. Always follow local building codes and consult a qualified professional for structural, electrical, or permitted work.
The content on this site is for informational purposes only and is not a substitute for professional advice. Always consult a qualified professional for guidance specific to your situation.