

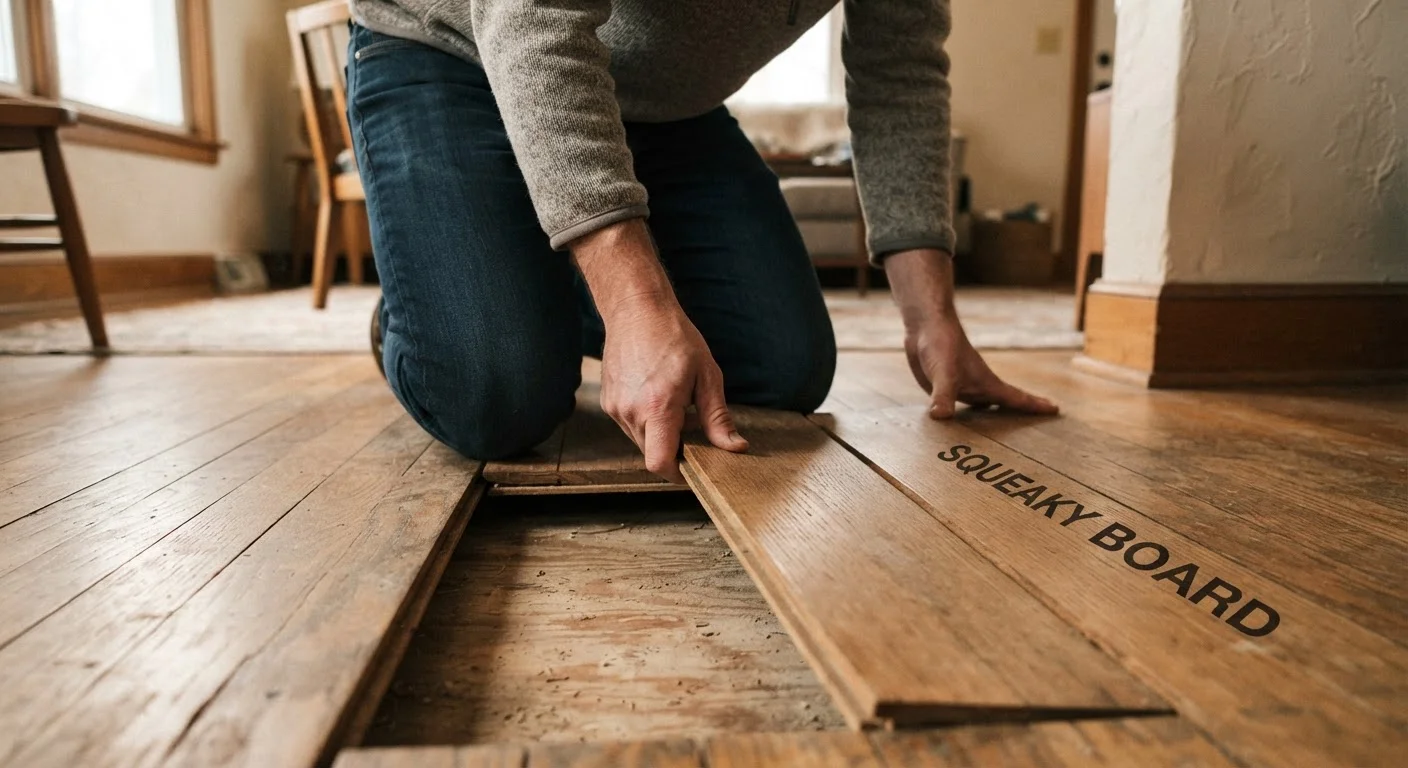
Why Subfloor Type Changes Everything
Before reaching for any tool, it pays to understand what you're working with. As explained in our guide to subfloor vs. surface floor layers, your home likely has one of three subfloor configurations: plywood or OSB (oriented strand board) over floor joists, a concrete slab, or an older diagonal board subfloor common in pre-1960s construction. Each type creates squeaks differently and responds to different remedies.
Plywood and OSB subflooring squeak most often because fasteners have loosened over time, allowing the finished floor above to shift and rub. Concrete slabs produce squeaks when the adhesive or sleeper system holding flooring has broken down. Diagonal board subfloors develop more complex friction points as the multiple wood layers expand, contract, and shift with humidity. Diagnosing your specific cause before acting - covered thoroughly in our article on why floorboards squeak - will save you significant time.
Test After Each Method Before Moving On
After each repair attempt, walk the area firmly before moving to a more invasive technique. Squeaks often resolve with lighter interventions than expected, and stopping at the right step saves you unnecessary work. Give lubricants at least one full day of use before concluding they haven't worked.
What You'll Need
Gather your materials based on which methods apply to your situation. Not every item below is required - read through the steps first and collect only what matches your subfloor type and access level.
Painter's tape
Mark squeak locations on the floor surface so you can track problem spots as you work.
Stud/joist finder
Locate floor joists beneath the subfloor so fasteners are driven into solid wood.
Power drill with drill bits
Drive screws and pre-drill pilot holes to prevent splitting finished flooring.
Trim-head screws (1¼" - 2")
Fasten subfloor to joists from above with a low-profile head that countersinks easily.
Wooden shims
Fill gaps between subfloor panels and joists when working from below.
Construction adhesive
Bond shims or subfloor panels to joists for a permanent, non-squeaking connection.
Powdered graphite or talcum powder
Lubricate friction points between surface boards without any cutting or fastening.
Color-matched wood filler or wax fill stick
Conceal screw holes in finished hardwood after driving fasteners from above.
Step-by-Step Fixes by Method
Locate the Squeak Precisely
Walk the area slowly and mark squeaky spots with painter's tape. Have someone walk while you observe from below if basement or crawl space access is available. Note whether the squeak is consistent (every step) or intermittent - consistent squeaks are usually nail-related, while intermittent ones often involve wood-on-wood friction between boards.
Try Lubrication First (Surface-Accessible Squeaks)
For squeaks caused by boards rubbing against each other at the surface, lubrication is the least invasive fix. Apply powdered graphite, talcum powder, or dry powdered lubricant along the seams between boards at the squeak location. Place a cloth over the area and work the powder into the joint by walking back and forth to distribute it. Vacuum excess from the surface.
This method works well on hardwood strip floors and older diagonal board subfloors where the friction point is between adjacent surface boards.
Shim from Below (Plywood or OSB Over Joists - Basement Access)
If you can access the underside of the floor from a basement or crawl space, shimming is one of the cleanest repairs available. While a helper walks the floor above, watch for movement between the subfloor and the joist. When you find the gap, apply a thin bead of construction adhesive to a wooden shim and slide it into the gap - do not force it or drive it in hard. The goal is to fill the void, not lift the floor.
Allow the adhesive to cure per the manufacturer's instructions before walking the area again.
Drive Screws Through the Subfloor into Joists (No Finished Floor Penetration)
From below, drive 1¼-inch to 1½-inch wood screws up through the subfloor into the joist at the squeak location. This pulls the subfloor panel tight against the joist and eliminates movement. Choose screw length carefully - the screw must not penetrate through the finished floor above. Measure the combined thickness of your subfloor before selecting fasteners.
Screw Through Finished Flooring from Above (No Basement Access)
When working from above on plywood or OSB subflooring, use trim-head screws (their small head sits lower in the wood). Locate the joist beneath using a stud finder, pre-drill a pilot hole to prevent splitting, then drive the screw through the finished board and subfloor into the joist. Countersink the head slightly below the surface. Fill the hole with color-matched wood filler or a wax fill stick to minimize visibility.
Address Concrete Slab Subfloors
On slab construction, squeaks most often occur in the sleeper system (wood strips embedded in or fastened over the concrete) or from failed adhesive under engineered or glue-down flooring. If adhesive failure is suspected along a specific board, inject a flooring-specific adhesive into the gap using a glue syringe, then weight the board down for the adhesive's full cure period. For squeaks in a sleeper system, consult a flooring professional - re-anchoring sleepers to concrete typically requires concrete fasteners and specialized tools beyond basic DIY scope.
Once your repair is complete, if you notice cosmetic damage to the surface boards from the process, our article on patching hardwood floor surfaces walks through filling shallow damage cleanly. For screw holes in hardwood, a color-matched wood filler or wax stick - as covered in our gap filler comparison guide - is usually the tidiest solution.
When the Squeak Returns - or Won't Stop
A repair that holds for a few weeks and then returns typically signals a structural issue rather than a simple friction fix. Joists that are cracked, sagging, or improperly spanned require a licensed contractor's assessment - this is not a DIY scope expansion worth attempting without professional input. Similarly, if squeaks are widespread across a room rather than isolated to one or two boards, the subfloor itself may have moisture damage or delamination, which needs inspection before surface repairs make sense.
Persistent squeaks in flooring that has been refinished before may also indicate that the boards are too thin for additional screwing. If you're considering a full refinish alongside this repair, review what's involved in sanding and refinishing hardwood floors before committing to that path - there are common pitfalls worth understanding in advance.
This article provides general educational guidance for typical residential floor repair scenarios. Results vary by construction type, material condition, and installation quality. For structural concerns, always consult a qualified flooring contractor or structural engineer.
The content on this site is for informational purposes only and is not a substitute for professional advice. Always consult a qualified professional for guidance specific to your situation.