

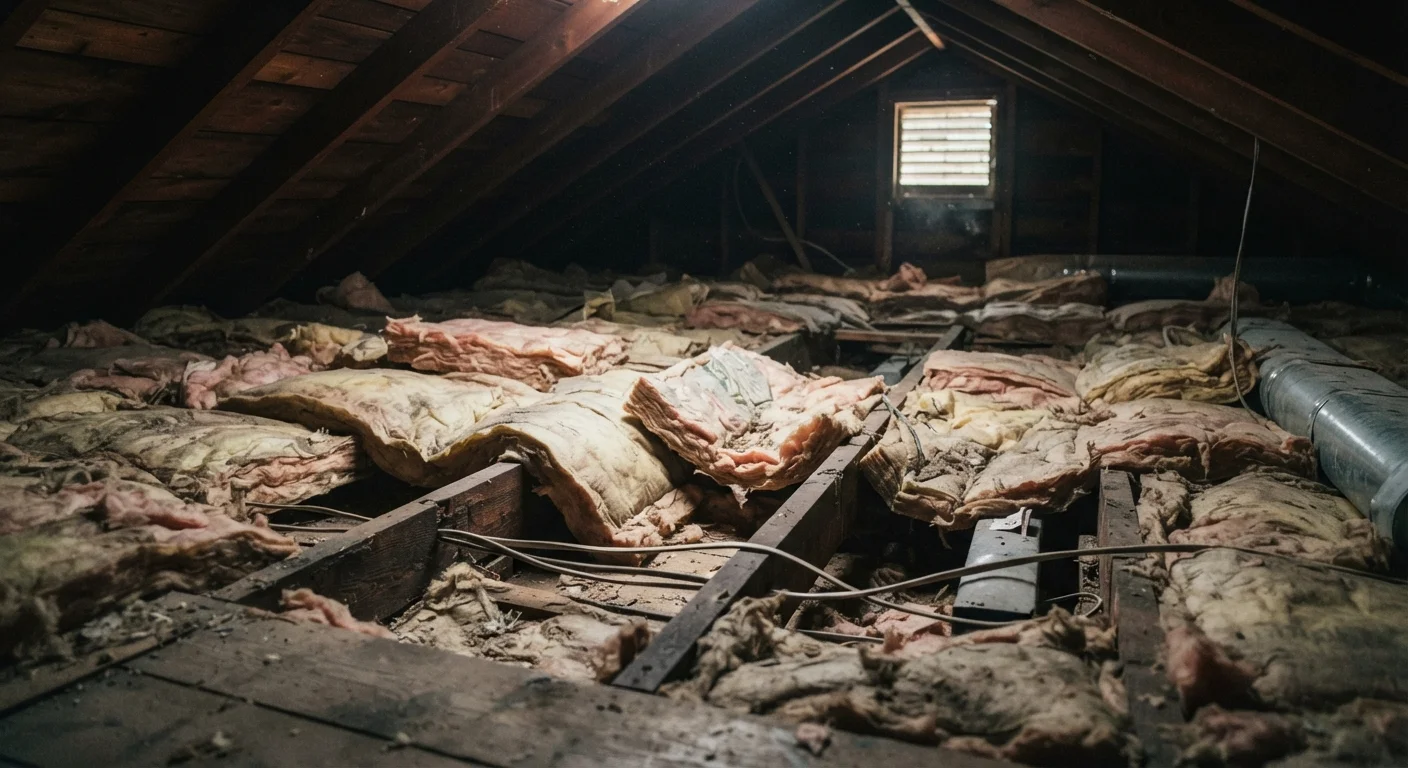
Why Insulation Fails - Even When It Looks Fine
Insulation failure rarely announces itself with a dramatic event. More often, it reveals itself through creeping discomfort: a bedroom that's always colder than the rest of the house, energy bills that climb a little more each winter, or floors that feel cold regardless of how high the thermostat is set. These are not random quirks - they're diagnostic signals worth taking seriously.
The problem is compounded by the fact that most insulation is hidden. You can't glance at a wall and know whether it's properly filled. That invisibility leads many homeowners to assume everything is fine, when in reality the insulation may be compressed, moisture-damaged, missing entirely in key spots, or undermined by air gaps that no amount of R-value can compensate for.
Understanding how insulation fails - and where - is the first step to fixing it efficiently. If your home shows several of the warning signs below, a room-by-room insulation audit can help you map the problem before spending on solutions.
Up to 30%
Home heating and cooling energy lost through air leaks
The U.S. Department of Energy estimates that air leakage through gaps, cracks, and openings can account for up to 30% of a home's heating and cooling energy use.
90%
U.S. homes considered under-insulated
According to the North American Insulation Manufacturers Association, roughly 90% of existing U.S. homes are under-insulated relative to current energy code recommendations.
The Most Costly Insulation Mistakes - and How to Correct Them
The mistakes below represent the most common ways insulation underperforms in real homes. Some stem from original installation shortcuts; others develop over years of normal house movement, moisture exposure, or neglected maintenance. Recognizing them gives you a clear action list rather than a vague sense that something is wrong.
Treating insulation as a one-time install that never needs attention.
Why it happens: Once insulation is in place and hidden behind drywall or under flooring, homeowners naturally assume it stays effective indefinitely. Out of sight, out of mind.
Skipping air sealing and relying on insulation alone to stop drafts.
Why it happens: Insulation is often marketed around R-value (a measure of thermal resistance), leading homeowners to assume higher R-value alone solves comfort problems. But insulation slows conductive heat transfer - it does not block moving air.
Compressing batt insulation to fit a narrower cavity or folding it around obstructions.
Why it happens: Batts are sized for standard framing cavities, and installers - DIY or professional - sometimes force them into tighter spaces rather than cutting them to fit correctly.
Ignoring rim joists - the framing at the top of foundation walls where the floor system meets the foundation.
Why it happens: Rim joists are tucked out of easy sight in basements and crawl spaces, so they're frequently overlooked during both original construction and later retrofits.
Blocking soffit vents with attic insulation, creating moisture and ventilation problems.
Why it happens: When adding attic insulation, it's easy to push batts or blown-in material too close to the eaves, inadvertently covering soffit vents that are essential for airflow.
Assuming a finished wall is properly insulated because it was built with exterior cladding.
Why it happens: Many older homes - particularly those built before modern energy codes - have little to no wall cavity insulation. Homeowners assume that if the walls look finished, the insulation must be there.
For a deeper look at how misconceptions about R-value and vapor barriers lead homeowners astray, see the insulation myths costing homeowners money.
Moisture and Mold: Don't Ignore These Signs
Wet or damp insulation loses most of its thermal resistance and can become a breeding ground for mold. If you discover discolored, compressed, or visibly wet insulation - especially in attics, crawl spaces, or exterior walls - do not simply cover it up. Remove and replace affected material, identify and fix the moisture source first, and consult a professional if mold is present.
When Insulation Problems Point to a Bigger System Issue
Insulation gaps rarely exist in isolation. A home with significant air leakage or under-insulated cavities forces the HVAC system to compensate - running longer cycles, struggling to maintain set temperatures, and wearing out components faster than it should. If you've noticed short cycling or uneven temperatures across rooms, signs your HVAC system is working harder than it should can help you distinguish between an insulation problem and an equipment issue.
Similarly, leaky ductwork can mimic the symptoms of poor insulation - rooms that won't heat or cool adequately despite a functioning system. Before investing in insulation upgrades, it's worth ruling out duct leakage as a contributing factor. And if cold floors are your primary complaint, the crawl space is often the culprit - a frequently overlooked area covered in our guide on crawl space insulation options and fixes.
Attic and Crawl Space Work Carries Real Risks
Inspecting or improving insulation in attics and crawl spaces can expose you to fiberglass particles, mold spores, pest droppings, and structural hazards. Always wear an N95 respirator, eye protection, and gloves. If you encounter knob-and-tube wiring, evidence of pests, structural damage, or mold, stop work and consult a licensed professional before proceeding.
This article provides general educational guidance on identifying insulation issues. Always verify local building codes and permit requirements before undertaking insulation work, and consult a licensed contractor for any tasks involving hazardous materials, electrical systems, or structural elements.
The content on this site is for informational purposes only and is not a substitute for professional advice. Always consult a qualified professional for guidance specific to your situation.