

What Is a Pergola (and What It Isn't)
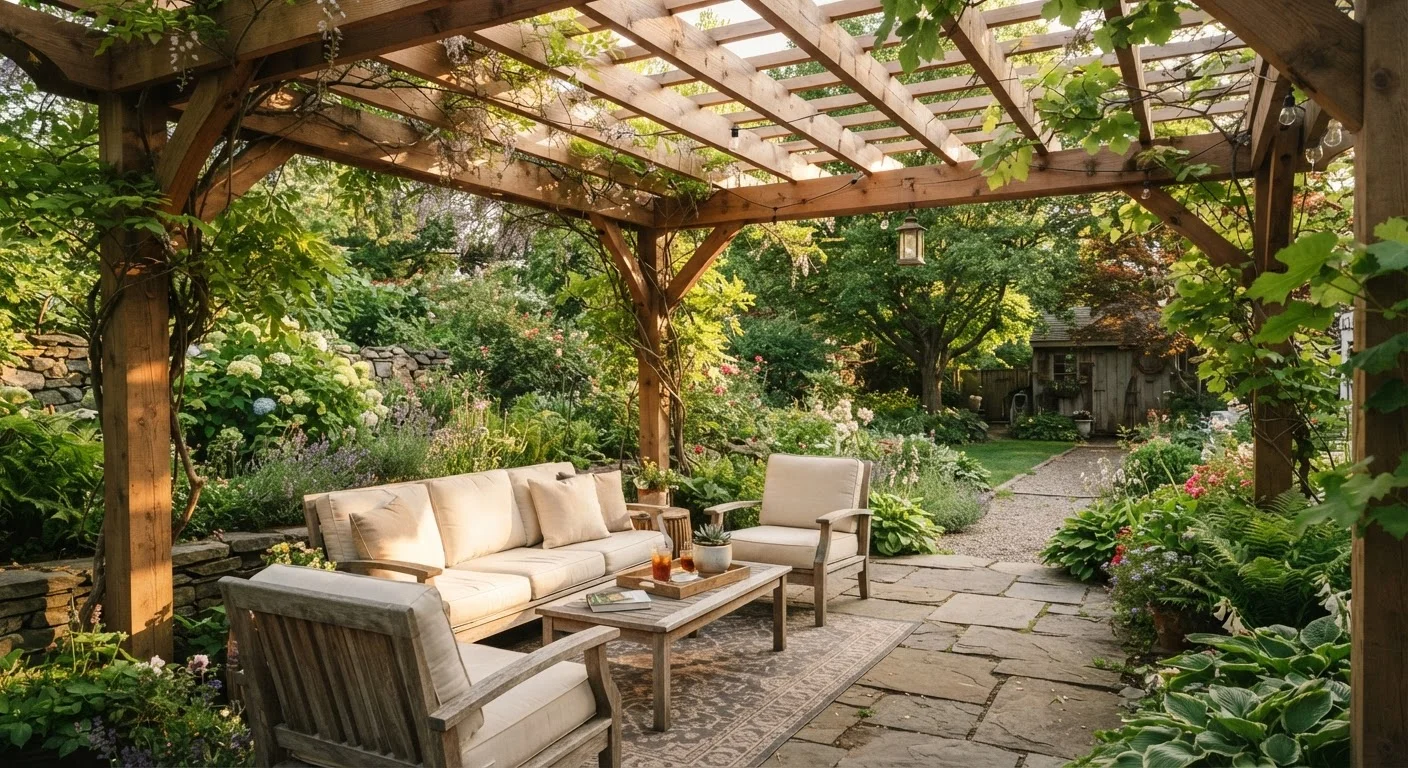
A pergola is an open outdoor structure defined by vertical posts supporting horizontal beams and an open lattice or rafter roof. Unlike a covered patio, gazebo, or awning, a standard pergola does not provide full rain protection - it filters light and defines space rather than weatherproofing it. Before diving into planning, it helps to be clear on that distinction. For a full comparison of outdoor shade options, see our guide to shade structures.
Pergolas serve primarily as architectural anchors in the yard - they make a patio feel like a room, create a focal point, and give climbing plants a framework to grow across. They can be freestanding in the garden or attached to the house, which affects both the structural requirements and the permitting process.
Permits, Codes, and HOA Rules
One of the most overlooked steps in pergola planning is the permit process. In most U.S. jurisdictions, any permanent structure - including a freestanding pergola - requires a building permit if it exceeds a certain square footage (often 100-200 sq ft, though this varies widely). Attached pergolas almost always require a permit because they connect to the home's structure.
Always Verify Permits Before You Build
Building a pergola without the required permits can result in fines, mandatory removal, and difficulties during a future home sale. Contact your local building department and, if applicable, your HOA before purchasing materials or breaking ground. Requirements vary significantly by city, county, and state - there is no universal rule.
Skipping permits can result in fines, a forced teardown, and complications when selling your home. Always contact your local building department before construction begins. Ask specifically about setback requirements - how far the structure must sit from property lines, easements, and the house itself.
If your neighborhood has a homeowners association (HOA), submit your plans for approval before purchasing materials. HOAs commonly regulate height, materials, color, and style. Getting written approval protects you if disputes arise later.
Choosing the Right Size and Location
Start by measuring how you intend to use the space. A dining area for six people typically needs at least a 12×12-foot footprint; a lounge conversation area may work in 10×10 feet. Avoid the common mistake of undersizing - pergolas that are too small feel cramped once furniture is in place.
Location matters for both function and structure. Attached pergolas must anchor into the house ledger board, which means the ledger must be structurally sound (not just siding). Freestanding pergolas give you more placement flexibility but require that each post have its own footing. Consider sun orientation: a pergola on the west side of the house provides afternoon shade; an east-facing one delivers morning light. For ideas on making the most of your outdoor footprint, see our outdoor entertaining setup guide.
Materials: Wood, Aluminum, and Vinyl
The three most common pergola materials each come with distinct trade-offs:
- Cedar and redwood: Naturally rot-resistant, visually warm, and workable with standard tools. They require periodic sealing or staining - typically every two to three years - to maintain their appearance and longevity.
- Pressure-treated lumber: More affordable than cedar, widely available, and durable. Modern formulations are safe for outdoor use, though the greenish tint often requires painting or staining to match a home's aesthetic.
- Aluminum: Lightweight, rust-proof, and virtually maintenance-free. Powder-coated aluminum holds paint well and suits contemporary styles, though it can feel less warm than wood in traditional garden settings.
- Vinyl (PVC): Never needs painting and resists rot and insects, but may lack the structural rigidity of wood or aluminum for longer spans without additional support.
When selecting lumber for a pergola, choose pieces that are straight and free of large knots at the lumber yard - don't accept delivery substitutions sight unseen. Warped or knotted posts are nearly impossible to correct once concrete is set.
Structural straightness affects both the appearance and the load-bearing consistency of the finished frame; defects are far costlier to address after installation.
Before pouring footings, call 811 (the national 'Call Before You Dig' number) to have underground utilities marked. This is a legal requirement in most states and takes only a few business days to arrange.
Striking buried gas, water, or electrical lines during post-hole digging creates serious safety hazards and significant liability.
For help thinking through your pre-build decisions, our pre-build planning checklist walks through measurements, material quantities, and anchoring considerations that apply to outdoor structures as well.
Footings, Posts, and Structural Basics
The footing is the most structurally critical part of a pergola, and it's where DIY projects most commonly go wrong. Each post must rest on a concrete footing that extends below the local frost line - the depth at which ground freezes in winter. In northern states, that can be 36-48 inches; in the South, 12 inches may suffice. Footings that don't reach below frost depth will heave and shift seasonally, eventually racking the entire structure.
Standard practice is to set 4×4 or 6×6 posts in tube-form concrete footings using adjustable post bases, which keep the wood above grade and reduce rot. Post spacing typically runs 8-12 feet depending on beam span. Beams then run perpendicular to the posts, and rafters (the open-roof members) sit across the beams.
Attached pergolas require a ledger board lag-bolted into the home's structural framing - not into siding or sheathing alone. This is a step where many homeowners benefit from a structural review by a licensed contractor, particularly if the attachment point is not straightforward.
Shade, Climbing Plants, and Finishing Touches
Because a pergola's open roof provides only filtered sun, most homeowners add supplemental shade. Fabric shade sails or retractable canopies are popular options that can be removed seasonally. Polycarbonate panels can add rain protection while maintaining light transmission.
Climbing plants are one of the most rewarding ways to increase shade naturally over time. Wisteria, clematis, grapevines, and climbing roses all attach well to pergola rafters. Keep in mind that heavy vines like wisteria exert significant weight and can stress undersized structures - account for mature plant load when sizing your beams. Once your pergola is established, container gardening at the base adds color and greenery at ground level without permanent planting.
For lighting, outdoor-rated string lights or low-voltage LEDs strung between rafters dramatically extend evening usability. Plan electrical conduit runs before the footings are poured if you want hardwired fixtures. Finally, review our seasonal patio preparation guide to keep your pergola in top shape year-round.
The content on this site is for informational purposes only and is not a substitute for professional advice. Always consult a qualified professional for guidance specific to your situation.